
In many situations, you may want to insert a watermark in Excel (such as your company’s logo or an image) before sharing it with others. In case you are sharing a WIP (work-in-progress) version of the report, you may want to place a WIP/Draft as the watermark in it.
While Excel does not have a dedicated feature to insert watermark in Excel, it can be easily achieved by using the Header & Footer sections in Excel.
In this tutorial, I will show you how to easily insert a watermark in Excel, as well as how to reposition/resize/remove an already inserted watermark.
How to Insert Watermark in Excel Worksheets
Here are the steps to insert a watermark in Excel Worksheet:
- Click the Insert tab and in the Text group, click on Header & Footer
- This changes the Worksheet View to Page Layout and you would be able to see 3 boxes at the top of the worksheet.

- Click within any of the three boxes where you want to insert the watermark. For example. select the middle one if you want to insert a watermark at the center.
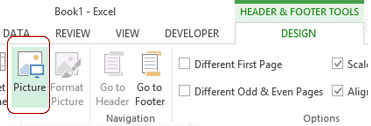
- When you click on any of the boxes, it also displays the Design option (in the ribbon) in the Header & Footer Tools tab

- Go to Header & Footer Tools Design and click on Picture. This opens the Insert Picture Dialogue Box.
- Locate the image file and double-click on it to insert it in the header.
- Note that this does not display the picture, but instead shows a code &[Picture].

- Click on any cell in the worksheet, you will be able to see the watermark.

- That’s it!! You have the watermark inserted.
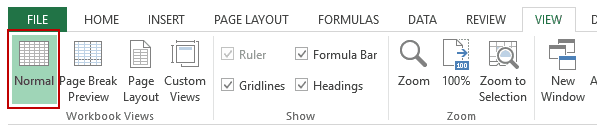
When you have inserted the watermark, excel remains in the Page Layout view. You can go to the normal view by going to View –> Workbook Views –> Normal.
Once you are in normal view mode, you will not see the watermark, but it is still there and can be viewed by going to the Page Layout Mode. It would also be printed when you print the worksheet.
Note: The header has 3 boxes where you can insert a watermark in Excel. You can not insert more than one watermark per section. If you try to insert more than one watermark, it will show an error (as shown below):

Also read: How to Embed a PDF In Excel
How to Re-position the Watermark in Excel
If you want to change the position of the watermark (say you want to push it downwards), just add some blank lines before the code &[Picture].
To enter blank lines, place the cursor at the beginning of the code as hit enter. Add multiple blank lines to push the watermark down.

If you want to show the DRAFT watermark at the center of the page, just enter enough line breaks to push it down to the center.
How to Resize the Watermark
Once you insert water in Excel, the picture dimensions (height/width) are that of the original picture.
Once inserted, you can easily resize the watermark by following the below steps:
- Go to Insert –> Text –> Header & Footer.
- This changes the Worksheet View to Page Layout and you would be able to see 3 boxes at the top of the worksheet. In the box where you have inserted the watermark, you will see the code &[Picture]
- Click on the box in which you want to resize the watermark.
- Go to Header & Footer Tools –> Design –> Format Picture.
- This will open the Format Picture dialogue box.

- Change the Height and Width of the watermark.
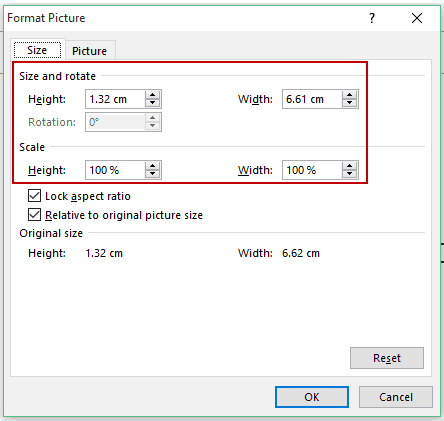
- Click OK.
How to Remove the Watermark in Excel
To remove the watermark in Excel, just remove the code &[Picture]. If you want to replace it with some other picture, just click on the header box (where you already have the code &[Picture]) and select Picture from the Design Tab.
NOTE: You can do the same thing by inserting a picture in the footer instead of the header.
So this is how you can easily insert and work with a watermark in Excel.
I hope you found this tutorial useful!
You May Also Like these Excel Tutorials:


very nice job