
If you’ve ever had to create dozens (or even hundreds) of folders manually, you know how tedious it can get.
Right-click, new folder, type the name, repeat. It gets old really fast.
The good news? You can automate this entire process using a simple VBA code in Excel.
Just list your folder names in a spreadsheet, run the macro, and watch Excel create all those folders for you in seconds. Whether you need 20 folders or 2,000, it works the same way.
In this tutorial, I’ll show you two methods
- Creating folders (without Subfolders)
- Creating folders with subfolders (nested folder structures).
Creating Folders in Bulk (without Subfolders)
This method is perfect when you have a simple list of folder names, and you just want to create them all in one location.
No subfolders, no complex structure, just a bunch of folders created instantly.
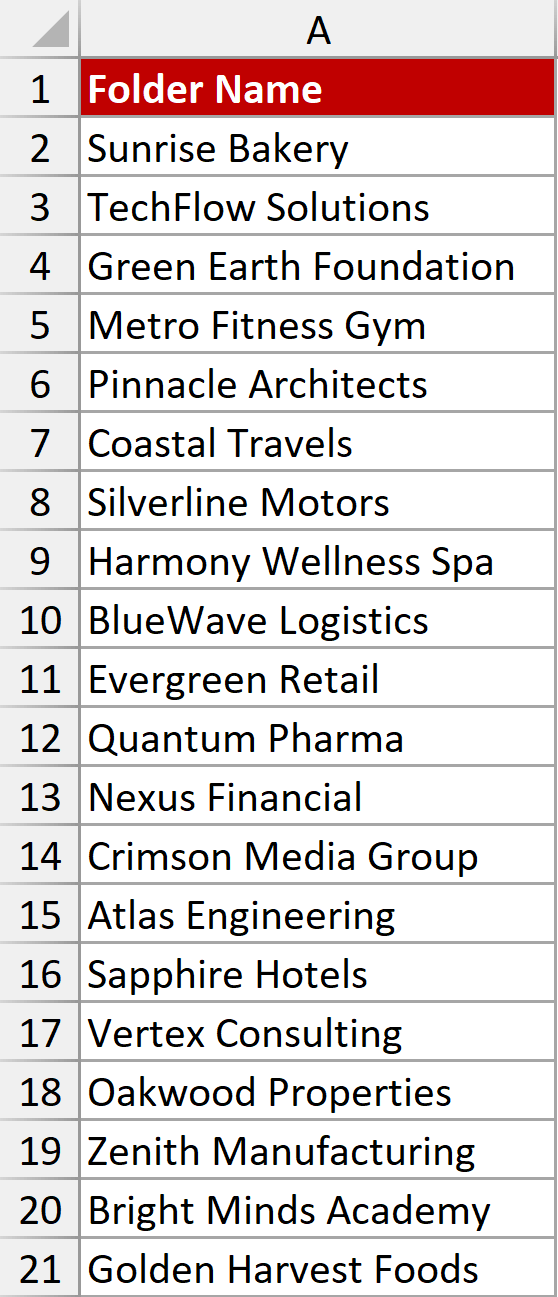
Below is the list of folder names in a column in Excel. I want to create all these folders in a specific location on my system.
To do this, first, we’ll have to put the VBA code in the backend of this file.
The VBA Code
Here is the VBA code we’ll be using.
Sub CreateFolders()

    Dim selectedRange As Range
    Dim folderPath As String
    Dim folderName As String
    Dim cell As Range
    Dim foldersCreated As Long
    Dim foldersExisted As Long
    Dim fd As FileDialog
    Dim summaryMsg As String

    ' Step 1: Ask user to select the range containing folder names
    On Error Resume Next
    Set selectedRange = Application.InputBox( _
        Prompt:="Select the cells containing folder names:", _
        Title:="Select Folder Names", _
        Type:=8)  ' Type 8 = Range selection
    On Error GoTo 0

    ' Check if user cancelled
    If selectedRange Is Nothing Then
        MsgBox "No range selected. Operation cancelled.", vbExclamation
        Exit Sub
    End If

    ' Step 2: Open folder picker dialog
    Set fd = Application.FileDialog(msoFileDialogFolderPicker)
    fd.Title = "Select the folder where you want to create your folders"

    If fd.Show = -1 Then
        folderPath = fd.SelectedItems(1)
    Else
        MsgBox "No folder selected. Operation cancelled.", vbExclamation
        Exit Sub
    End If

    ' Add backslash if not present
    If Right(folderPath, 1) <> "\" Then
        folderPath = folderPath & "\"
    End If

    ' Step 3: Loop through selected cells and create folders
    foldersCreated = 0
    foldersExisted = 0

    For Each cell In selectedRange
        folderName = Trim(cell.Value)

        ' Skip empty cells
        If folderName <> "" Then
            On Error Resume Next
            MkDir folderPath & folderName
            If Err.Number = 0 Then
                foldersCreated = foldersCreated + 1
            ElseIf Err.Number = 75 Then
                foldersExisted = foldersExisted + 1
            Else
                MsgBox "Error creating folder: " & folderName & vbCrLf & Err.Description, vbExclamation
            End If
            On Error GoTo 0
        End If
    Next cell

    ' Step 4: Build summary message
    summaryMsg = foldersCreated & " folders created successfully."

    If foldersExisted > 0 Then
        summaryMsg = summaryMsg & vbCrLf & foldersExisted & " folders already existed."
    End If

    summaryMsg = summaryMsg & vbCrLf & vbCrLf & "Location: " & folderPath

    MsgBox summaryMsg, vbInformation

End SubHow to Set This Up
First, you need to add this VBA code to your Excel workbook. Here’s how:
- Open your Excel workbook where you have (or will have) your folder names listed.
- Press Alt + F11 to open the VB Editor.
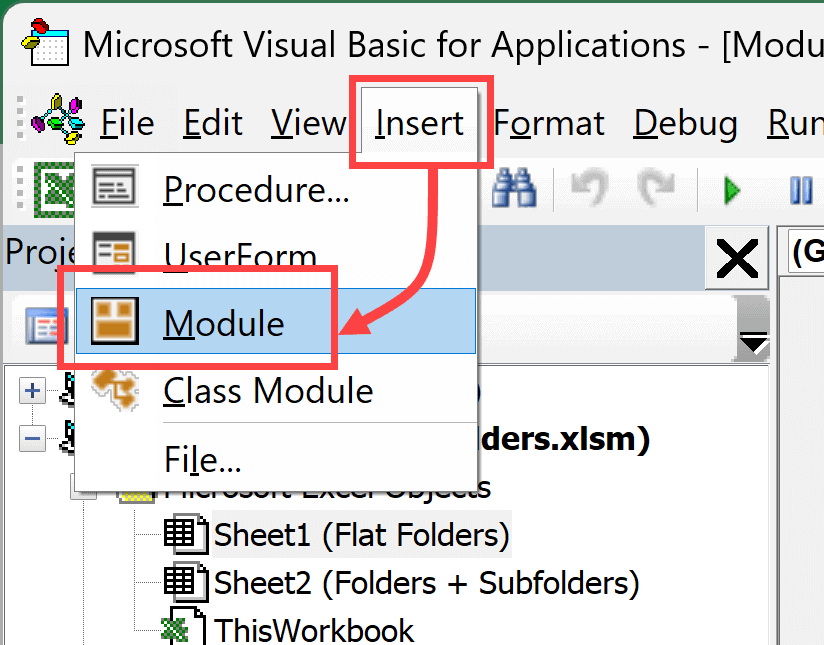
- In the VBA Editor, go to the menu and click Insert → Module. This creates a blank module where you’ll paste the code.
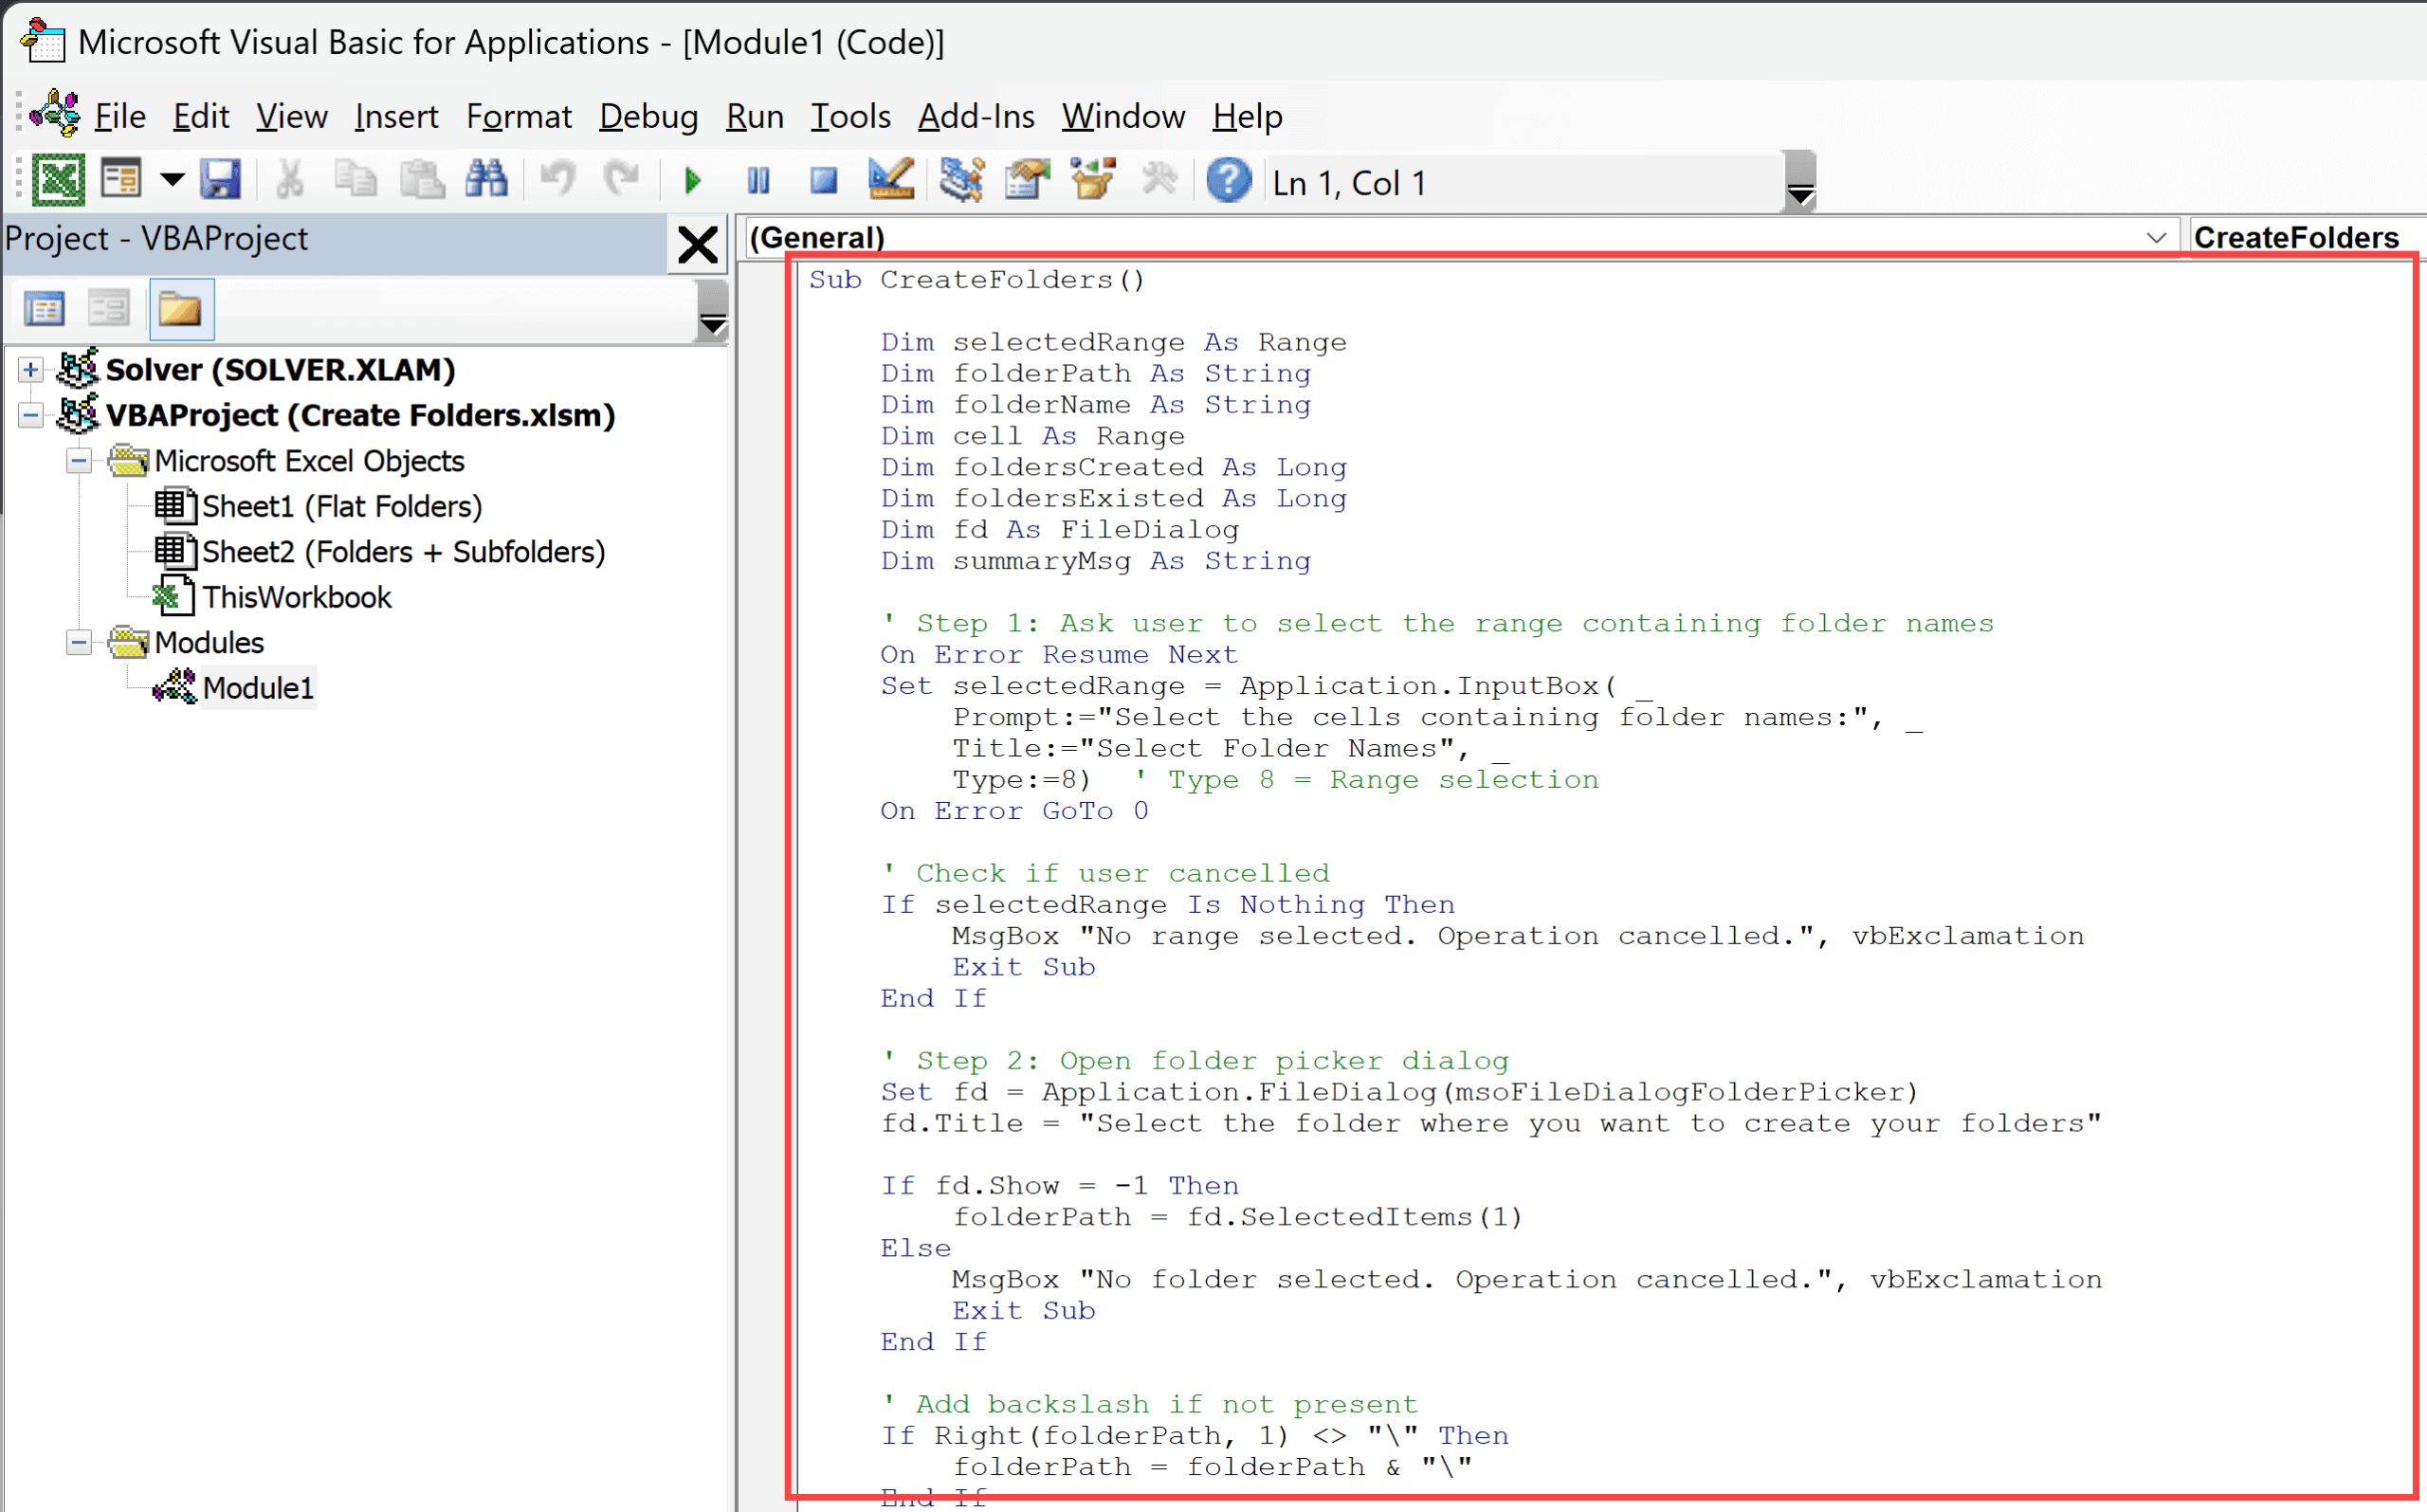
- Copy the VBA code above and paste it into the white code window that appears.
Important: If you want to keep this VBA macro code in the file to use it later, make sure that you save the file as a macro-enabled file with .xlsm extension. If you save it as a regular.xlsx file, the VBA code would be lost.
How to Create Folders in Bulk
Once the code is set up, here’s how you actually create the folders:
- List all your folder names in a column in Excel.
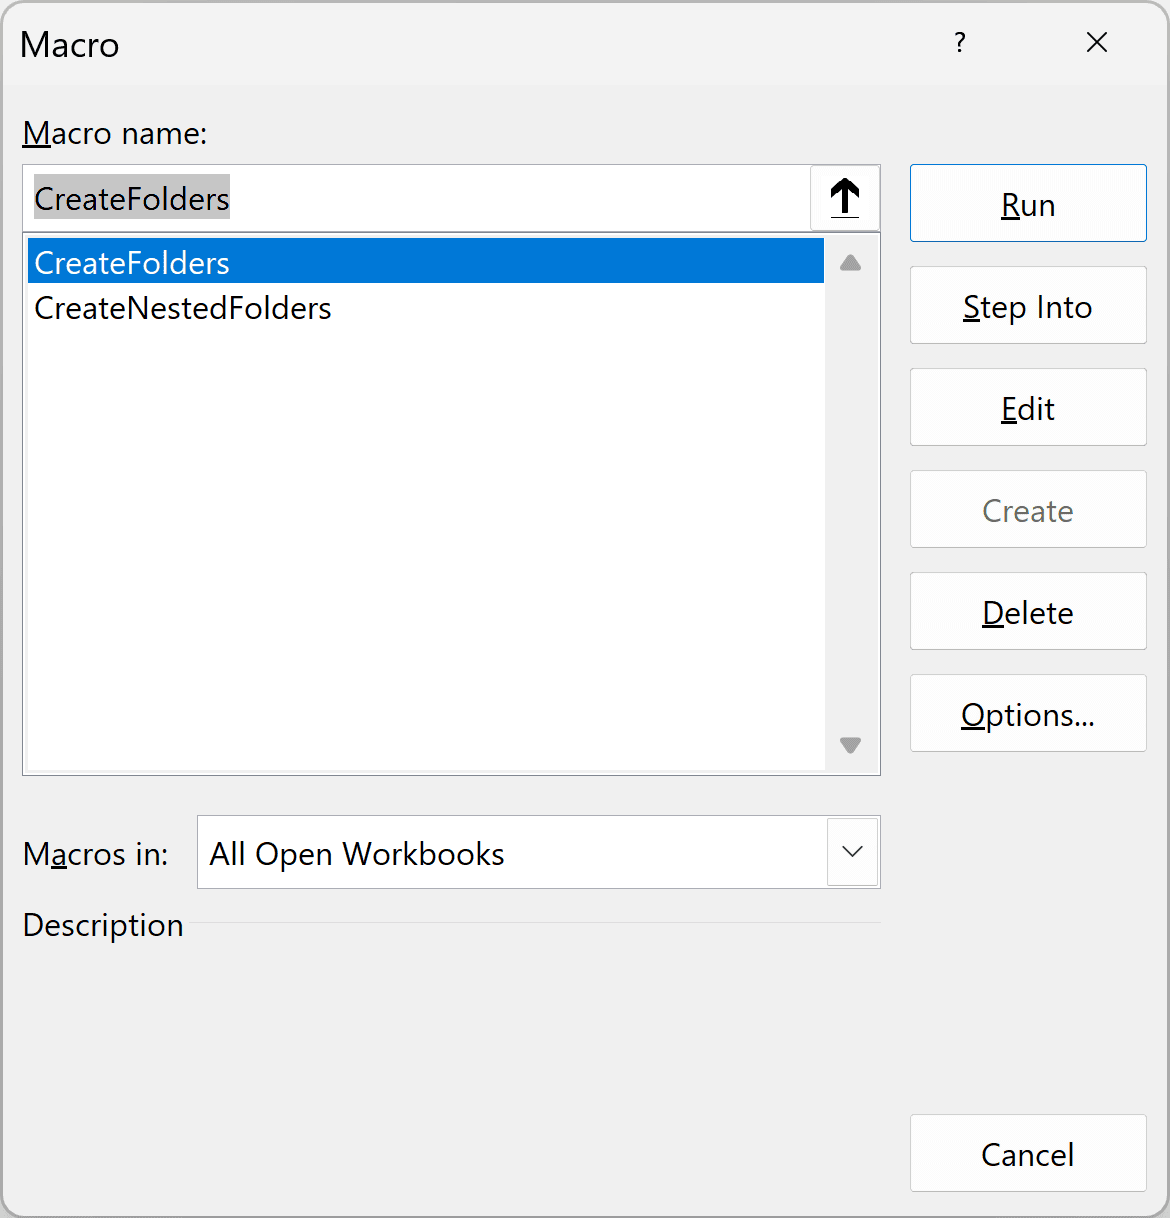
- Run the macro. You can do this by pressing Alt + F8, selecting CreateFolders from the list, and clicking Run.
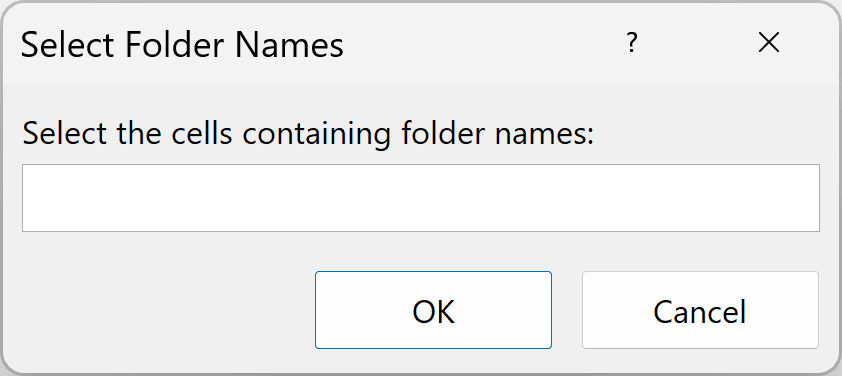
- A dialog box will appear asking you to select the cells containing your folder names. Use your mouse to select the range with your folder names, then click OK.
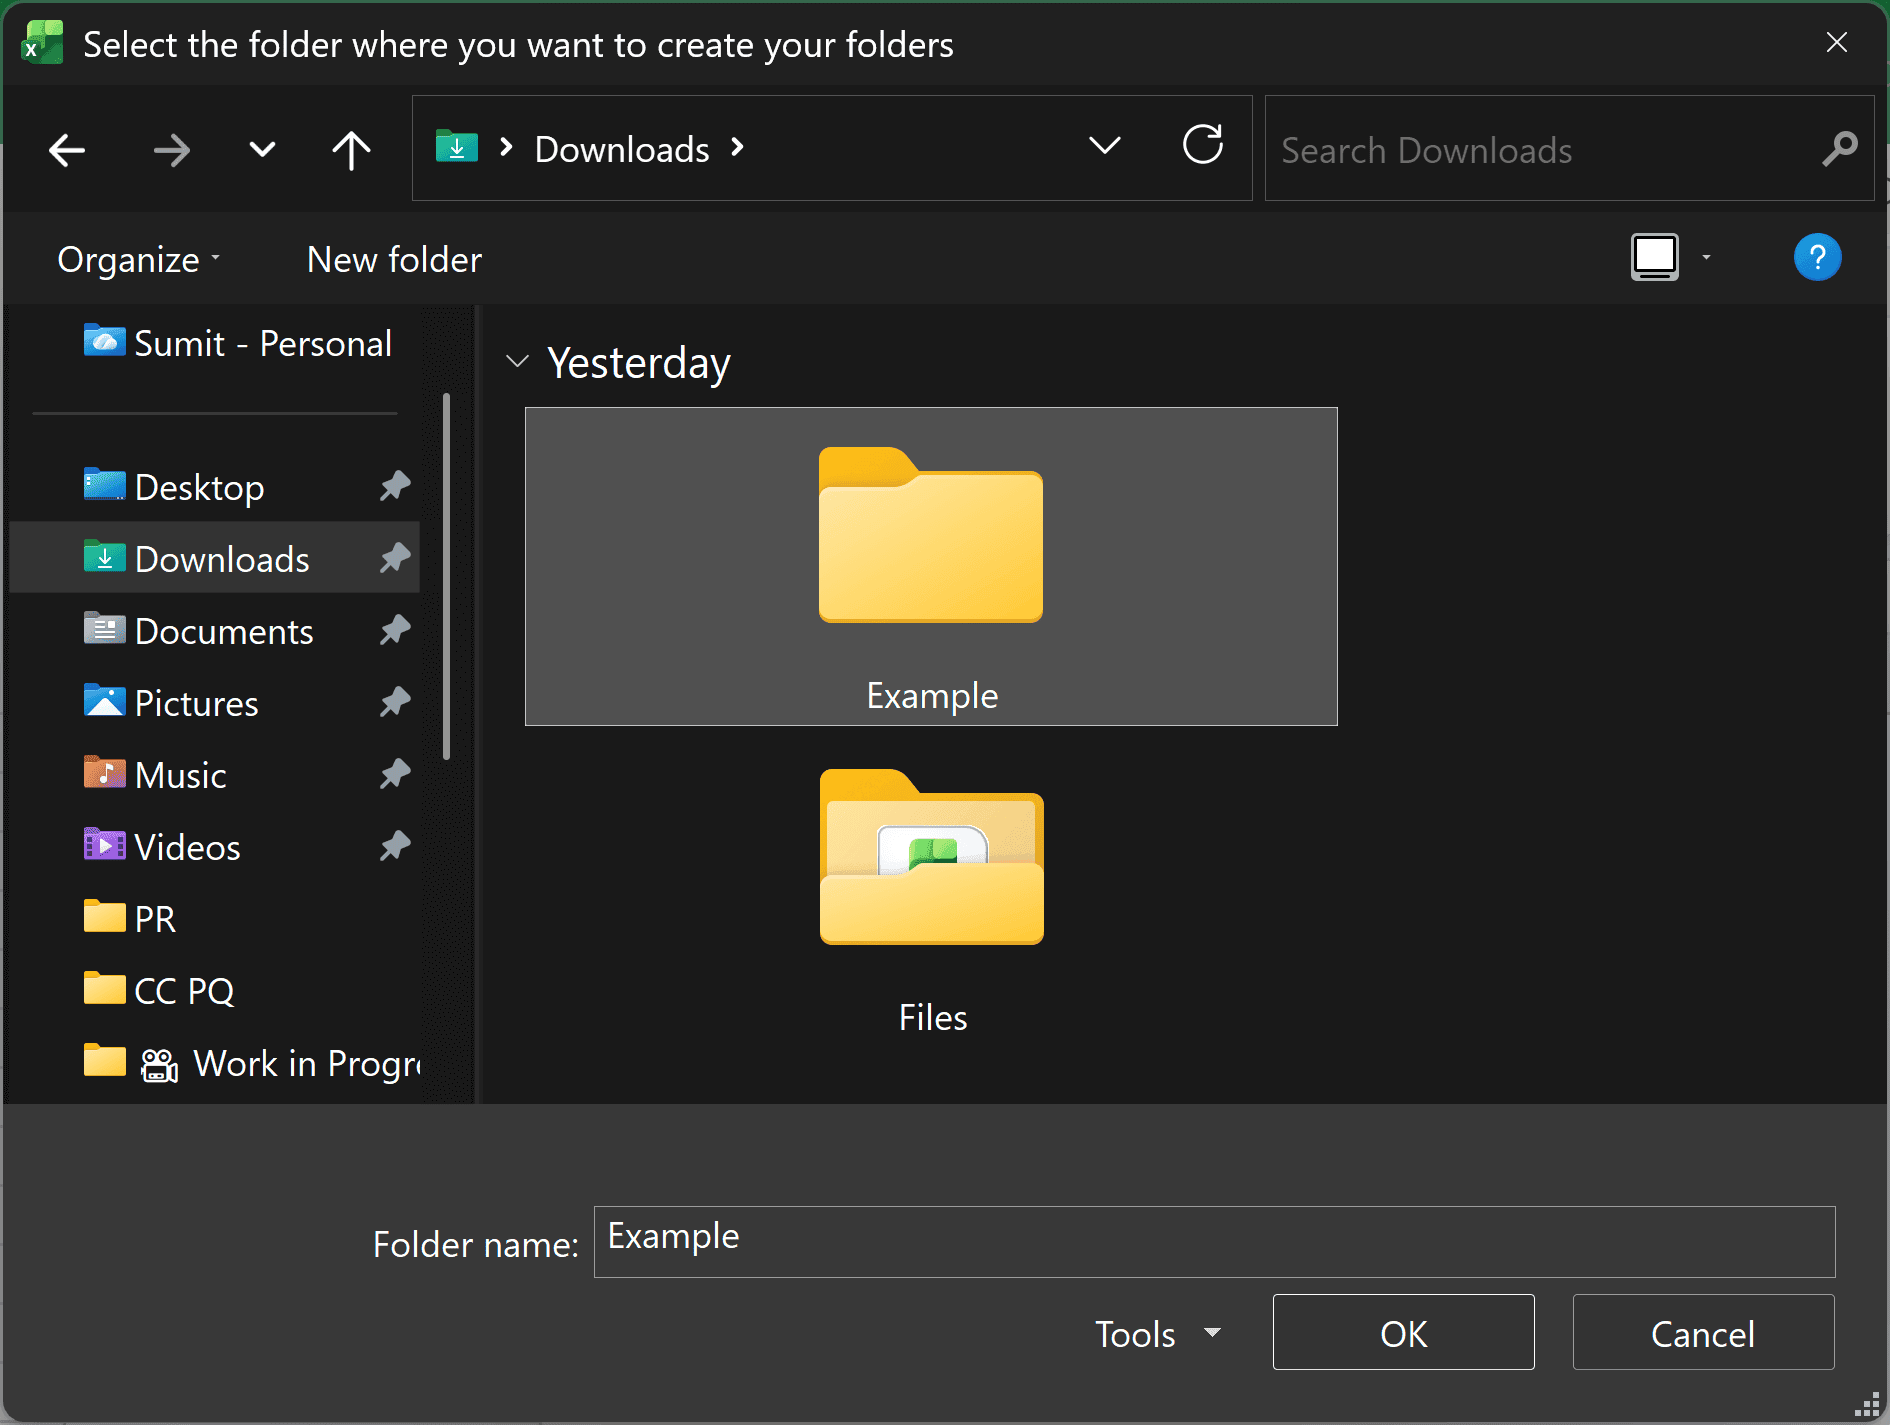
- Next, a folder browser will pop up. Navigate to the location where you want these folders to be created and click OK.
- That’s it! Excel will create all the folders instantly. You’ll see a summary message telling you how many folders were created.

If a folder with the same name already exists in that location, the code will simply skip it. No errors, no duplicates. It just moves on to the next one.
Optional: Create a Button to Run the Macro
If you’re going to use this frequently, you might want to create a button so you don’t have to go through the Alt + F8 menu every time.
- Go to the Insert tab and click on Illustrations and then on Shapes.
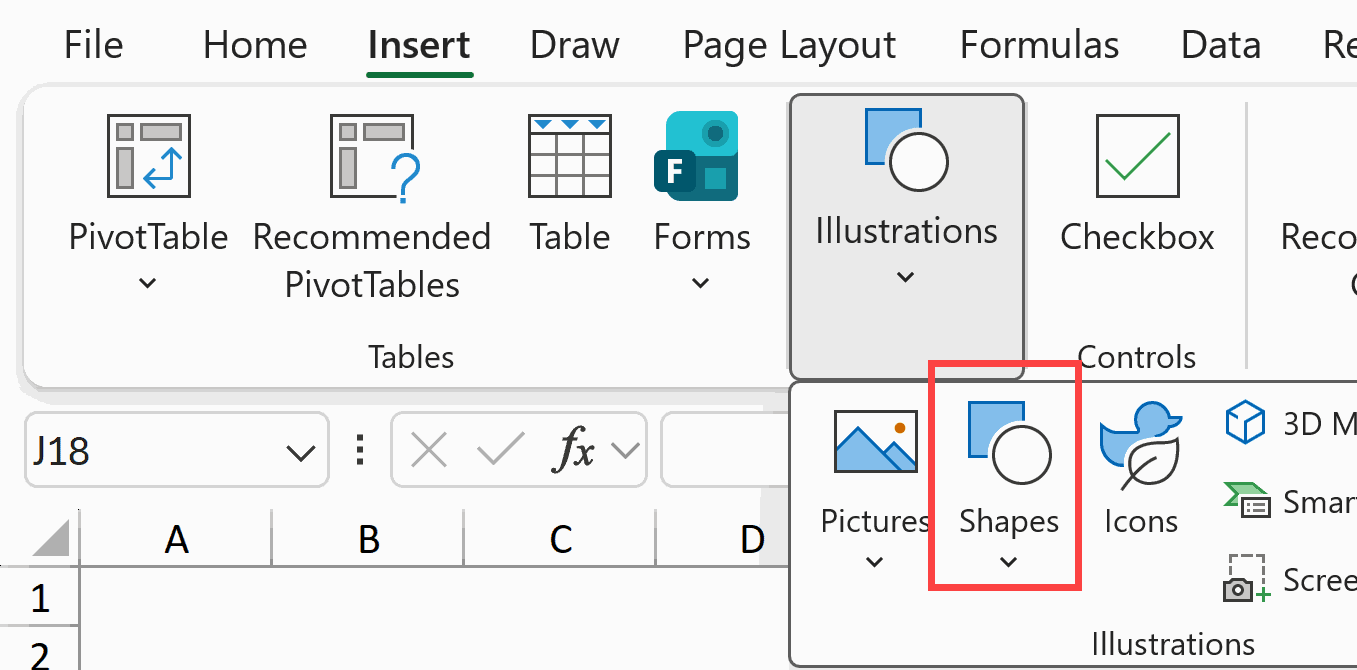
- Draw any shape you like (a rectangle works well for a button).

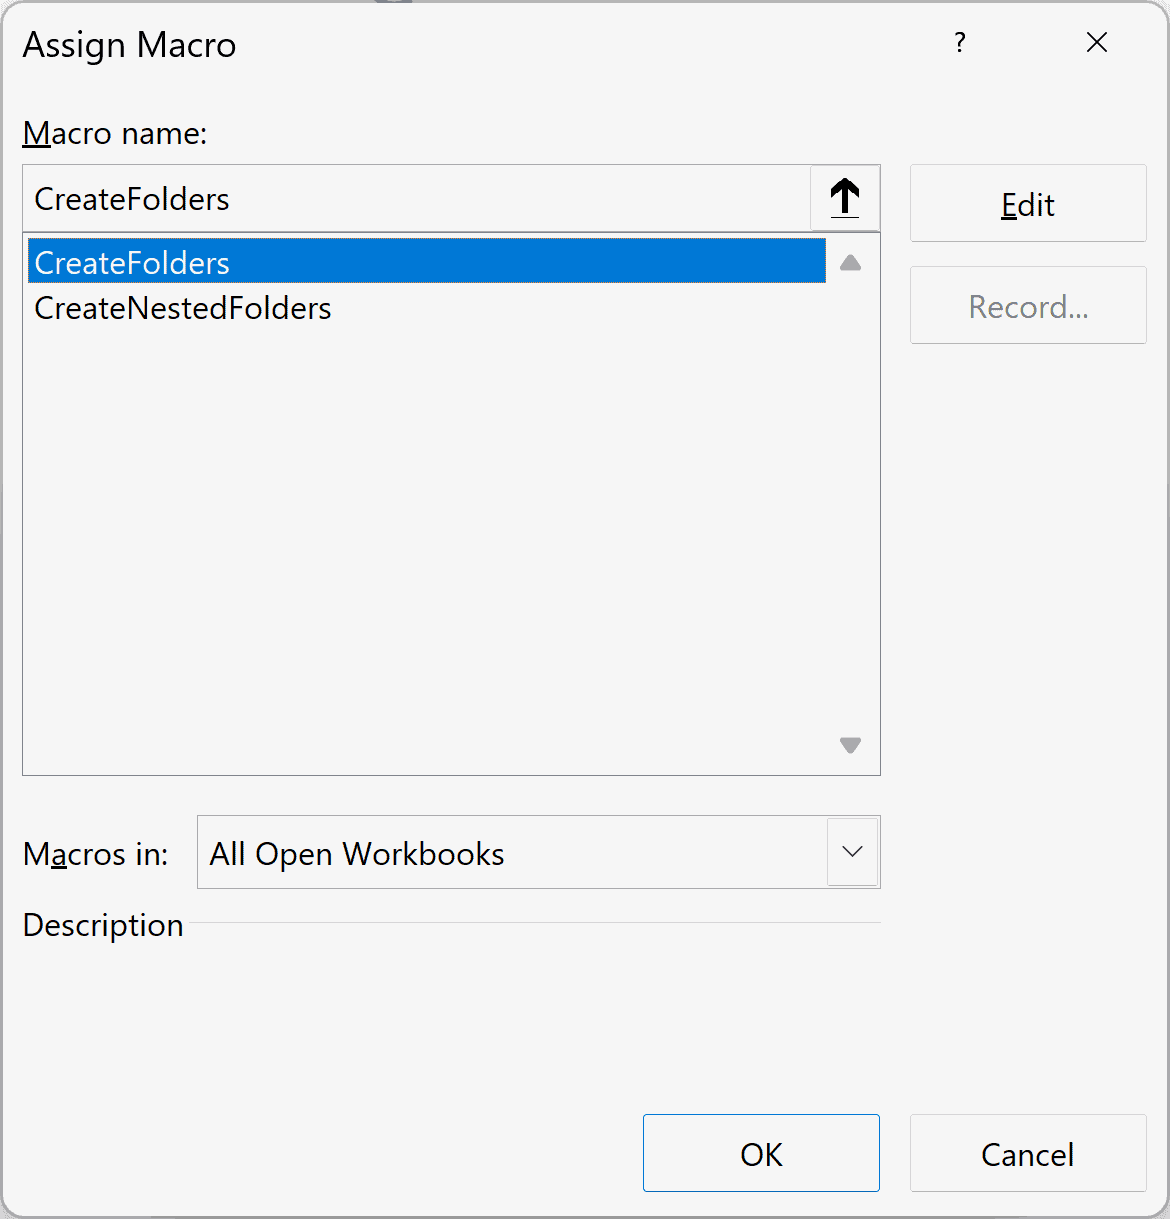
- Right-click on the shape and select Assign Macro.
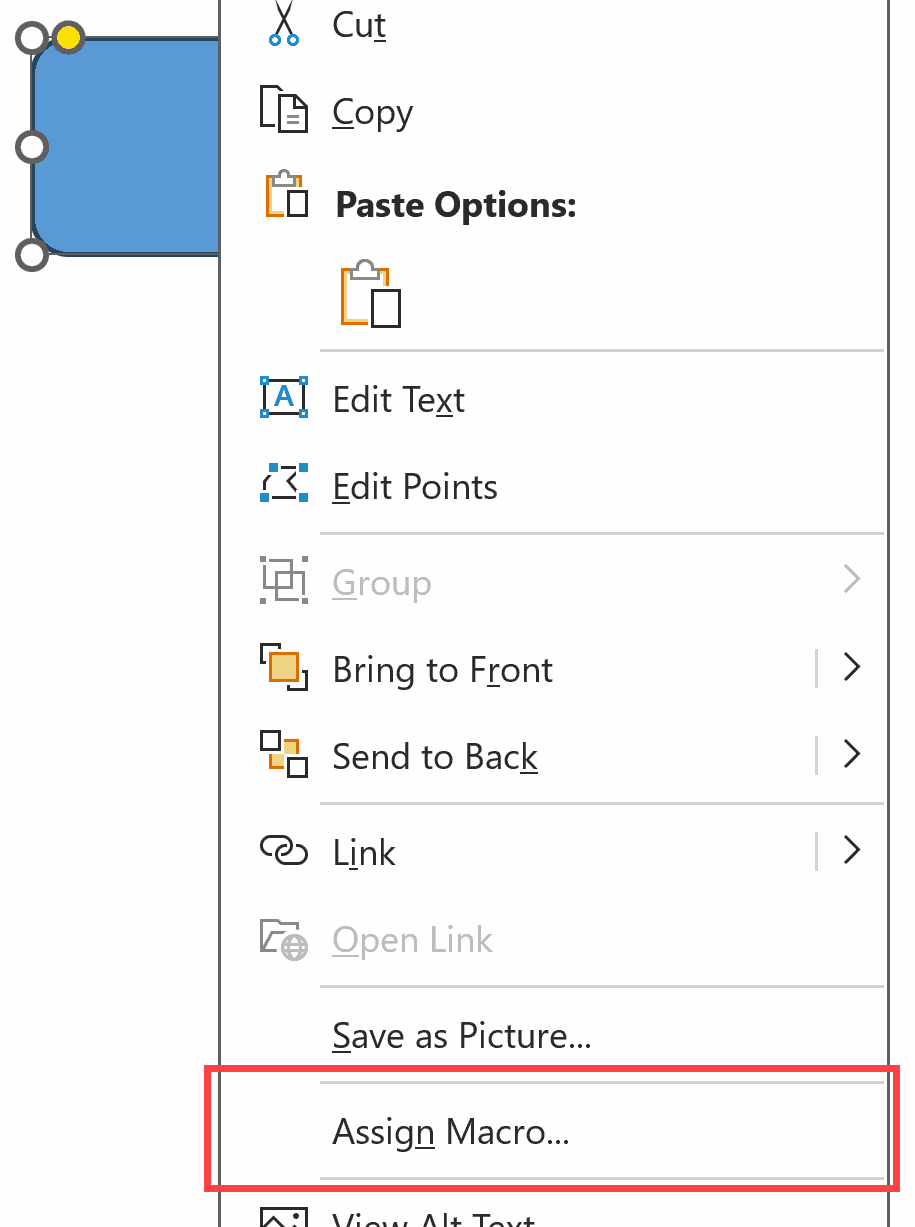
- Select CreateFolders from the list and click OK.
Now you can just click this button anytime you want to run the macro.
Creating Folders and Subfolders in Bulk
Now, what if you need a more complex folder structure?
Say you want to create a folder called “Sunrise Bakery” and inside it, you want subfolders like “Invoices” and “Contracts.” And maybe inside “Contracts,” you want “2024” and “2025.”
You can do all of this with the nested folders macro. The trick is in how you organize your data in Excel.
The VBA Code
Here is the VBA code we’ll be using.
Sub CreateNestedFolders()

    Dim selectedRange As Range
    Dim folderPath As String
    Dim fullPath As String
    Dim cell As Range
    Dim row As Range
    Dim fd As FileDialog
    Dim foldersCreated As Long
    Dim foldersExisted As Long
    Dim summaryMsg As String
    Dim i As Long
    Dim pathPart As String

    ' Step 1: Ask user to select the range containing folder structure
    On Error Resume Next
    Set selectedRange = Application.InputBox( _
        Prompt:="Select the cells containing folder structure (all columns):", _
        Title:="Select Folder Structure", _
        Type:=8)  ' Type 8 = Range selection
    On Error GoTo 0

    ' Check if user cancelled
    If selectedRange Is Nothing Then
        MsgBox "No range selected. Operation cancelled.", vbExclamation
        Exit Sub
    End If

    ' Step 2: Open folder picker dialog
    Set fd = Application.FileDialog(msoFileDialogFolderPicker)
    fd.Title = "Select the folder where you want to create your folders"

    If fd.Show = -1 Then
        folderPath = fd.SelectedItems(1)
    Else
        MsgBox "No folder selected. Operation cancelled.", vbExclamation
        Exit Sub
    End If

    ' Add backslash if not present
    If Right(folderPath, 1) <> "\" Then
        folderPath = folderPath & "\"
    End If

    ' Step 3: Loop through each row and create folder structure
    foldersCreated = 0
    foldersExisted = 0

    For Each row In selectedRange.Rows
        ' Build the full path from all columns in this row
        fullPath = folderPath

        For i = 1 To row.Cells.Count
            pathPart = Trim(row.Cells(1, i).Value)
            If pathPart <> "" Then
                fullPath = fullPath & pathPart & "\"
            End If
        Next i

        ' Remove trailing backslash
        If Right(fullPath, 1) = "\" And Len(fullPath) > Len(folderPath) Then
            fullPath = Left(fullPath, Len(fullPath) - 1)
        End If

        ' Only create if we have something beyond the base path
        If fullPath <> folderPath And fullPath <> Left(folderPath, Len(folderPath) - 1) Then
            ' Check if folder already exists
            If Dir(fullPath, vbDirectory) <> "" Then
                foldersExisted = foldersExisted + 1
            Else
                ' Create the folder (including any parent folders)
                On Error Resume Next
                CreateFolderPath fullPath
                If Err.Number = 0 Then
                    foldersCreated = foldersCreated + 1
                Else
                    MsgBox "Error creating folder: " & fullPath & vbCrLf & Err.Description, vbExclamation
                End If
                On Error GoTo 0
            End If
        End If
    Next row

    ' Step 4: Build summary message
    summaryMsg = foldersCreated & " folders created successfully."

    If foldersExisted > 0 Then
        summaryMsg = summaryMsg & vbCrLf & foldersExisted & " folders already existed."
    End If

    summaryMsg = summaryMsg & vbCrLf & vbCrLf & "Location: " & folderPath

    MsgBox summaryMsg, vbInformation

End Sub

Sub CreateFolderPath(ByVal fullPath As String)
    ' This subroutine creates a folder and all necessary parent folders

    Dim parts() As String
    Dim currentPath As String
    Dim i As Long

    ' Split the path into parts
    parts = Split(fullPath, "\")

    ' Start with the drive letter
    currentPath = parts(0)

    ' Loop through each part and create folders as needed
    For i = 1 To UBound(parts)
        If parts(i) <> "" Then
            currentPath = currentPath & "\" & parts(i)
            If Dir(currentPath, vbDirectory) = "" Then
                MkDir currentPath
            End If
        End If
    Next i

End SubNote: This code includes two subroutines: CreateNestedFolders (which you’ll run) and CreateFolderPath (a helper function that gets called automatically). Make sure you copy both.
How to Set This Up
The setup process is the same as before:
- Press Alt + F11 to open the VBA Editor.
- If you already have a module from the previous method, you can paste this code below the existing code. Otherwise, go to Insert → Module to create a new one.
- Paste both subroutines (CreateNestedFolders and CreateFolderPath) into the module.
- Close the VBA Editor and save your file as .xlsm (if you haven’t already).
How to Structure Your Data
This is where things are a bit different.
Instead of listing folder names in a single column, you’ll spread them across multiple columns to define the hierarchy
- Column 1 = Main folder (parent)
- Column 2 = First-level subfolder
- Column 3 = Second-level subfolder
- And so on…
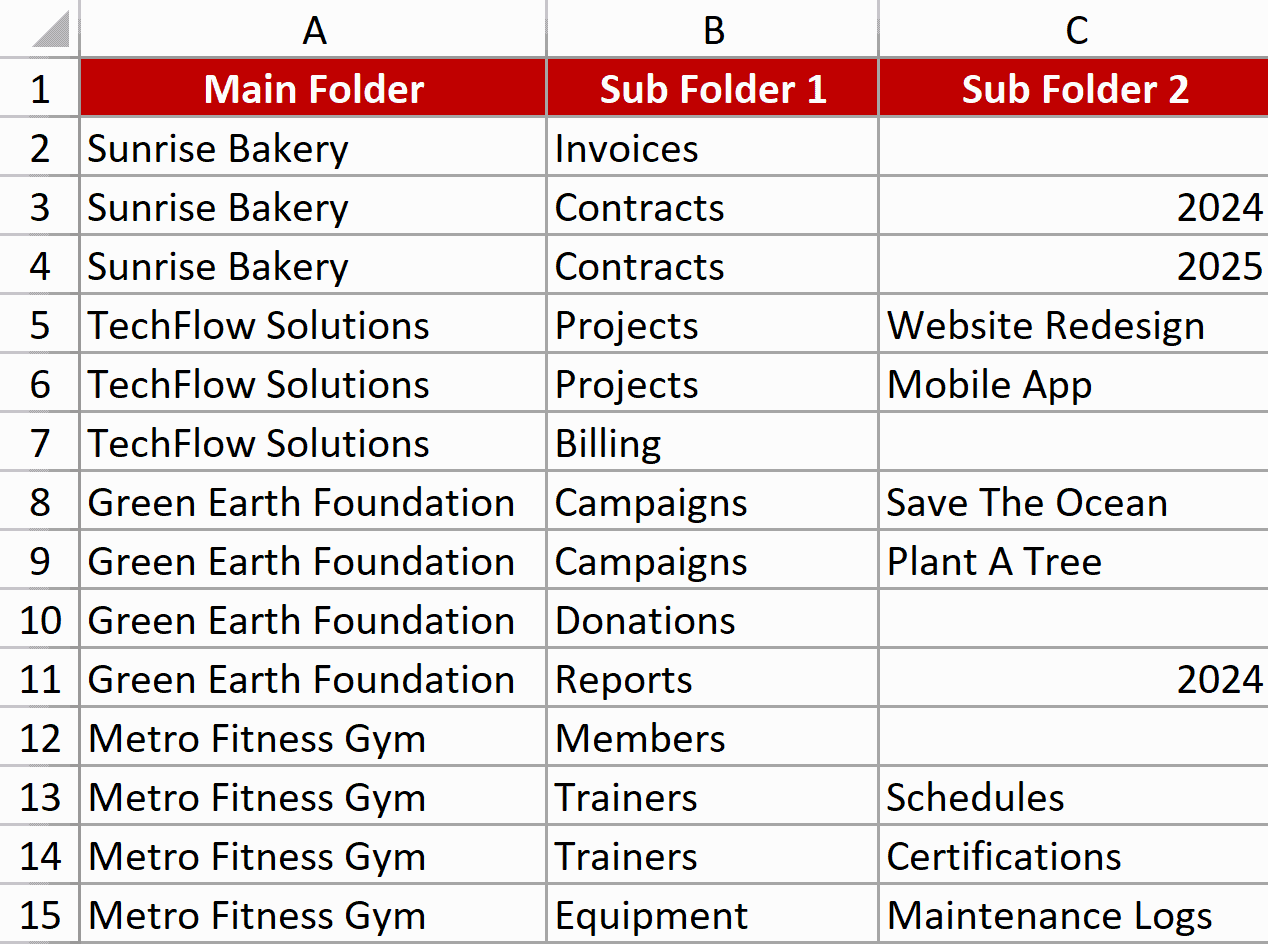
The key thing to remember: Each row represents a complete path. So if you want a subfolder three levels deep, you need to fill in all three columns for that row.
How to Use It
- Set up your folder structure in Excel using the column layout described above.
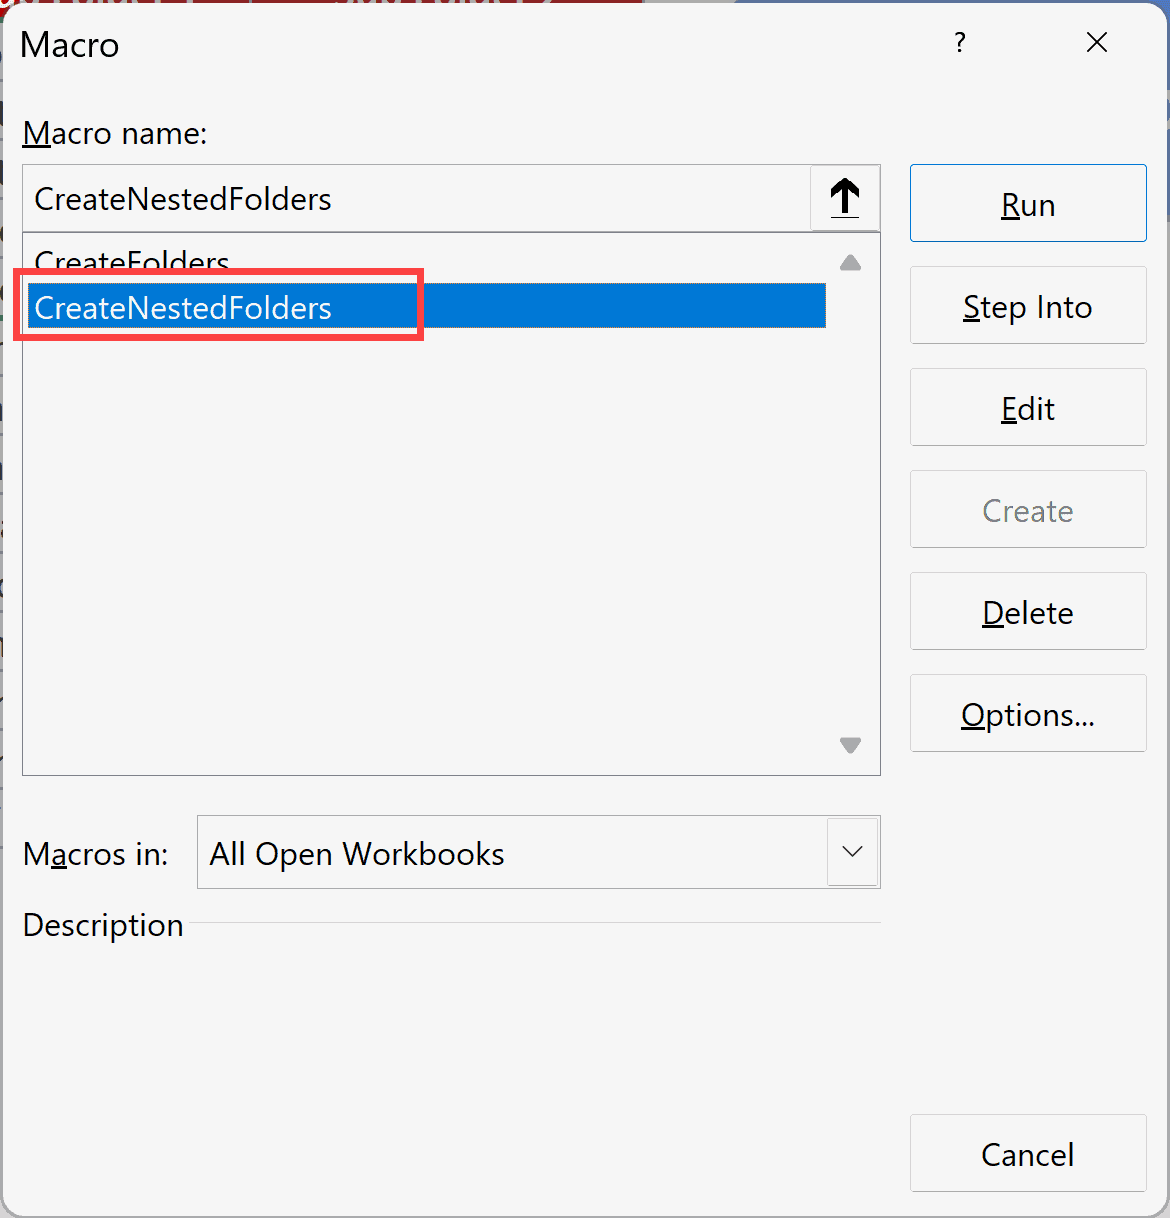
- Run the macro by pressing Alt + F8, selecting CreateNestedFolders, and clicking Run.
- When prompted, select the entire range that contains your folder structure (all columns included).
- Choose the destination folder where you want everything created.
Done! You will see a message box confirming that the folders have been created.
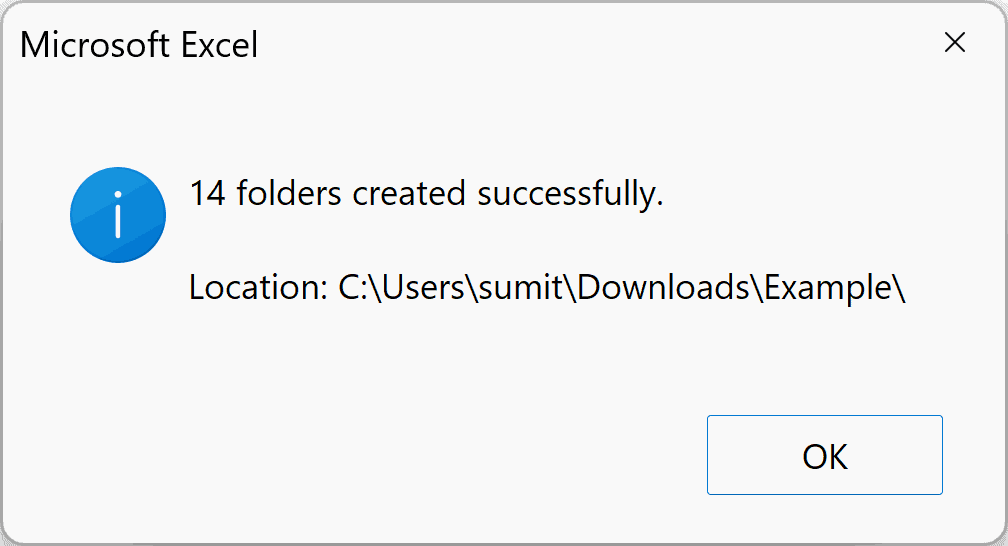
Check your destination folder, and you’ll see the entire structure has been created.
Remember: Just like the simple version, if a folder already exists, it will be skipped. So you can run this multiple times without worrying about errors or duplicates.
A Few Things to Keep in Mind
- Enable macros when reopening: If you close and reopen your .xlsm file, you might see a yellow security bar at the top saying macros are disabled. Click “Enable Content” to make your buttons work again.
- Always save as .xlsm: This one’s worth repeating. Regular Excel files (.xlsx) cannot store VBA code. If you accidentally save as .xlsx, your macros will be gone.
- You can modify the code: If you want to customize how the code works, you can use AI tools like ChatGPT or Copilot to help you make changes (even if you’re not a programmer). Just describe what you want, and it can help you tweak the code.
Other Excel articles you may also like:


Hi Sumit,
thank you for making it possible for an elderly person (..me..) to keep learning on the practical uses of Exel by your tutorials.
These keep my mind active, with a practical result.
Thank you, again.