
If you have a cell with text that’s longer than the cell width, Excel lets that text spill over into the next column when that column is empty.
Google Sheets has a built-in Clip option that cuts off the extra text right at the cell border.
Unfortunately, Excel does not have a built-in Clip option.
But there are a few ways to get the same result.
In this article, I’ll show you three workarounds for clipping overflowing text in Excel, so your spreadsheet looks clean.
Method 1: Using the Fill Alignment Option
Let’s start with the quickest approach.
Excel has an alignment setting called Fill that gets you very close to the Clip behavior in Google Sheets. It fills the cell with the text and cuts off anything that doesn’t fit within the column width.
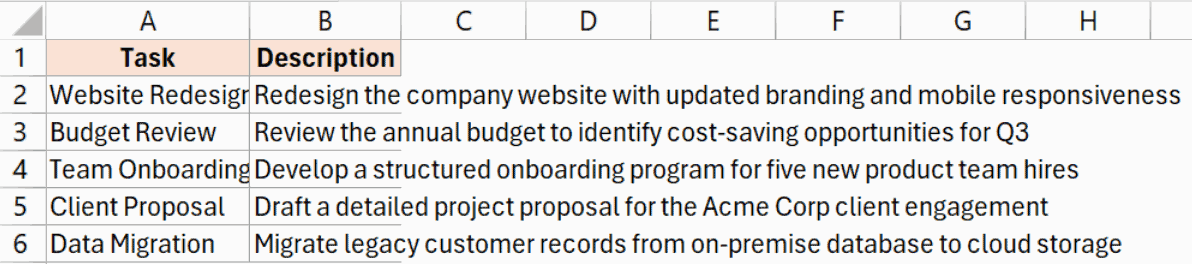
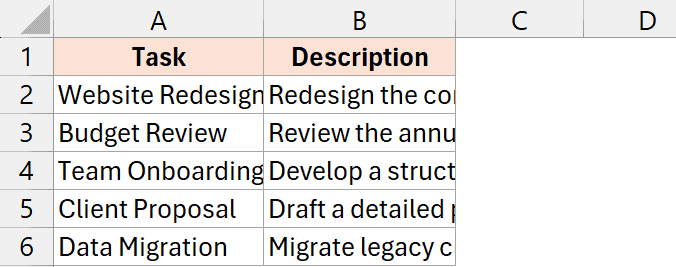
Below is a dataset where the text in column B is overflowing into the empty cells next to it.
Here are the steps to clip the text using the Fill alignment option:
- Select the cells where the text is overflowing.
- Press Ctrl + 1 to open the Format Cells dialog box.
- Go to the Alignment tab.
- Click the Horizontal dropdown and select Fill.
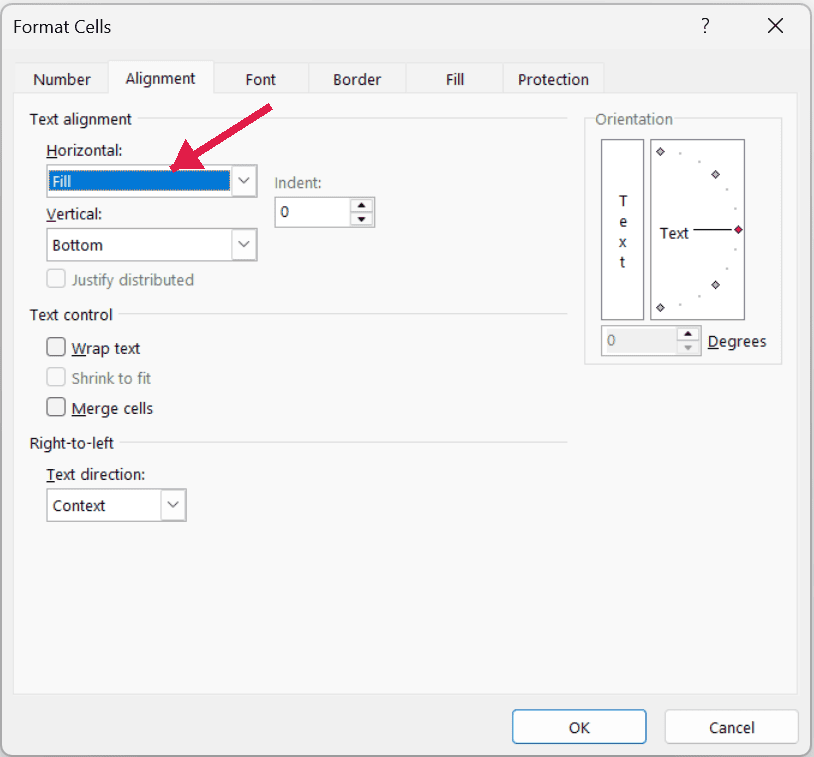
- Click OK.
As soon as you click OK, the overflowing text gets cut off at the cell border. The row height remains the same, and the full text is still present in the cell.
Gotcha: There is one thing to be careful about with this method. If a cell has short content, the Fill option will repeat that content to fill the cell width. For example, if you put the number 1 in a cell with Fill alignment, Excel will display it as 1111111 to fill the cell.
So this method works best when your cells already have long overflowing text. Watch out if some cells have short values.
Method 2: Wrap Text and Adjust Row Height
Here’s another way to do this, and it doesn’t have the caveat from Method 1.
This approach uses Wrap Text to stop the overflow, and then you manually set the row height back to its original size.
It’s a multi-step process, but the end result is exactly what the Clip option does in Google Sheets.
Let’s suppose you have the same dataset with overflowing text.
Here are the steps to clip the text using Wrap Text:
- Select the cells with the overflowing text.
- Go to the Home tab and click Wrap Text.

- You’ll notice Excel wraps the text and increases the row height automatically. That’s not what we want, so we’ll fix the row height next.
- Select all the rows that now have an increased height (click and drag on the row numbers on the left).
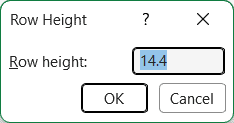
- Right-click the selected rows and choose Row Height.
- Enter the default row height value (14.4 in my case) and click OK.
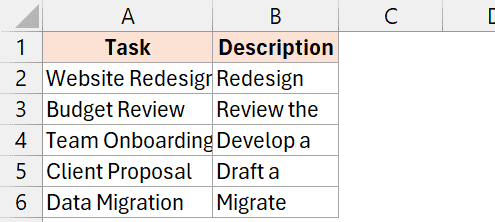
Now the text is clipped at the cell border, and the row heights match the rest of your rows.
If you’re not sure what the default row height is for your sheet, click on any row that hasn’t been changed, right-click, and select Row Height. Excel will show you the current value, and you can use that same number for the other rows.
The upside of this method is that it works no matter what’s in the cell. Short values, long values, and blank cells all look fine because you’re just wrapping the text and controlling the row height yourself.
Method 3: Add a Space in the Adjacent Cell
The third way is not elegant, but it’s fast, and it works.
Excel only lets text overflow when the next cell is empty.
So if you put anything in the adjacent cell, the overflow stops because Excel now has to display that cell’s content.
Here are the steps to clip the text by filling the adjacent cell:
- Click on the empty cell next to the one with overflowing text.
- Press the Spacebar to type a single space character.
- Press Enter.
- Copy that space down to all the other rows where you want to stop the overflow.
As soon as you do this, the overflow stops in the cells on the left because the cells on the right now have content (even if it’s just a space).
This is a quick fix, but use it carefully. The adjacent cell is no longer empty, which can cause issues if you’re using that column in any formulas or calculations.
Use this method only when you know you won’t be using that adjacent column for anything else.
Clipping doesn’t delete text. All three methods only change how the text is displayed. The full text is still stored in the cell, so you can widen the column anytime to see it.
In this article, I showed you three ways to clip overflowing text in Excel since there’s no direct Clip option like in Google Sheets.
I hope you found this article helpful.
Other Excel articles you may also find helpful:


