
If you want to make all the cells in your worksheet the same size, you may have noticed that Excel doesn’t have a single button that does it. Your rows and columns end up looking uneven no matter what you try.
But nothing to worry about. Once you select everything first and set one width and one height, every cell falls in line.
In this article, I’ll show you how to make all cells the same size, including the tricky part of making them perfectly square.
Select All the Cells First
Before you change any size, you need to select every cell in the worksheet. Otherwise Excel only resizes the rows or columns you have highlighted.
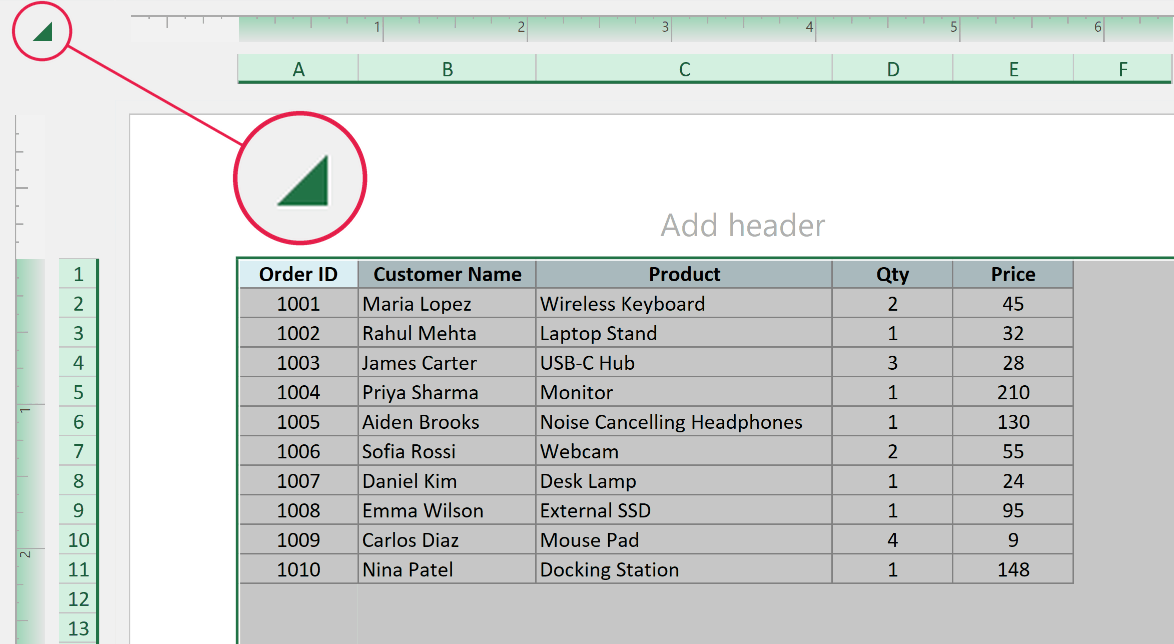
The fastest way is to click the Select All button. This is the small box with a triangle in the top-left corner of the sheet, where the row numbers and column letters meet.
- Click the Select All button.
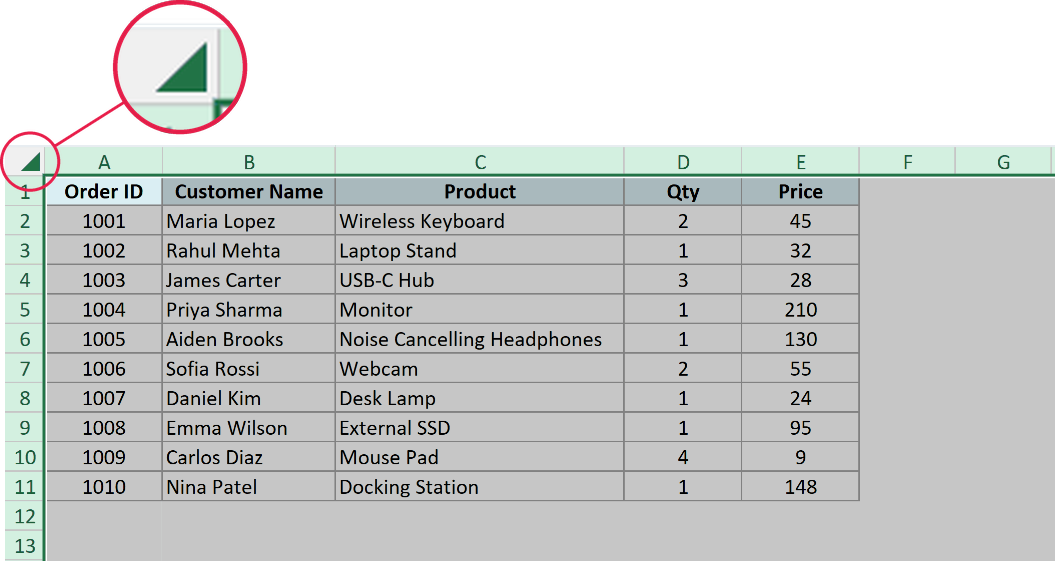
This highlights the entire sheet, so any size change you make now applies to all the cells at once.
Pro Tip: You can also press Ctrl + A to select all cells. If your cursor is sitting inside a table or a block of data, the first press only selects that data, so keep pressing Ctrl + A until the whole sheet is selected.
Set a Uniform Column Width
With all the cells selected, you can give every column the exact same width using the Format option on the ribbon.
Let’s start with the simplest approach.
Here are the steps to make all columns the same width:
- Select all the cells using the Select All button or Ctrl + A.
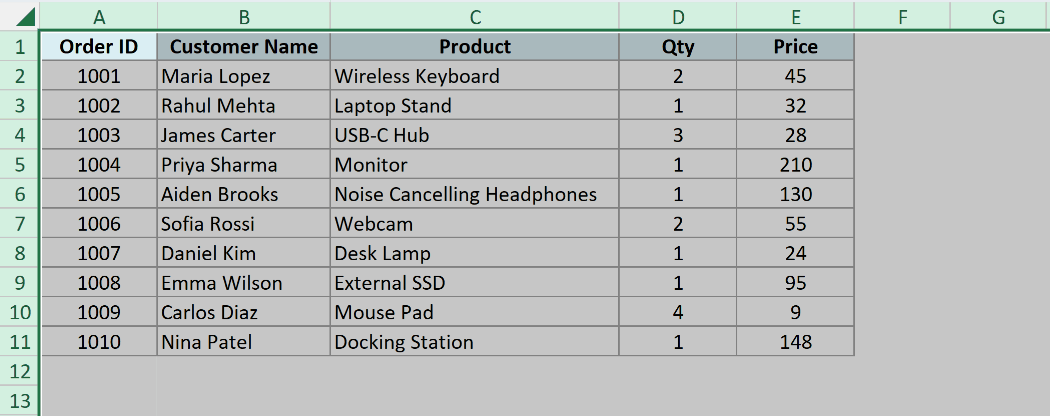
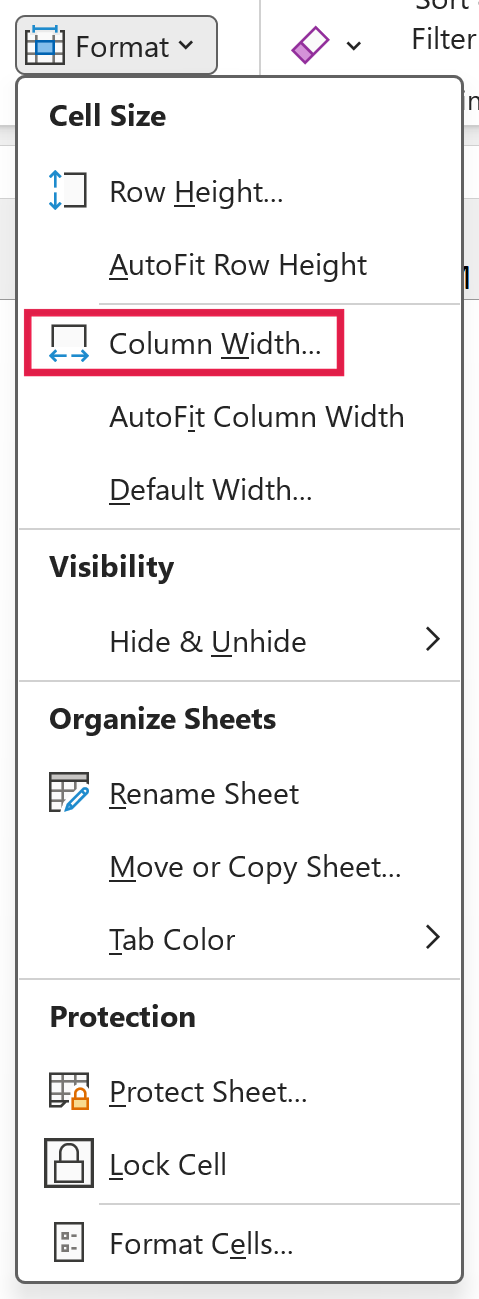
- On the Home tab, in the Cells group, click Format, then click Column Width.
- In the Column Width dialog box, type the width you want (for example, 15).
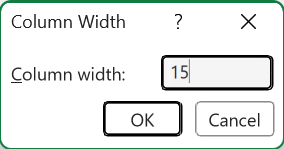
- Click OK.
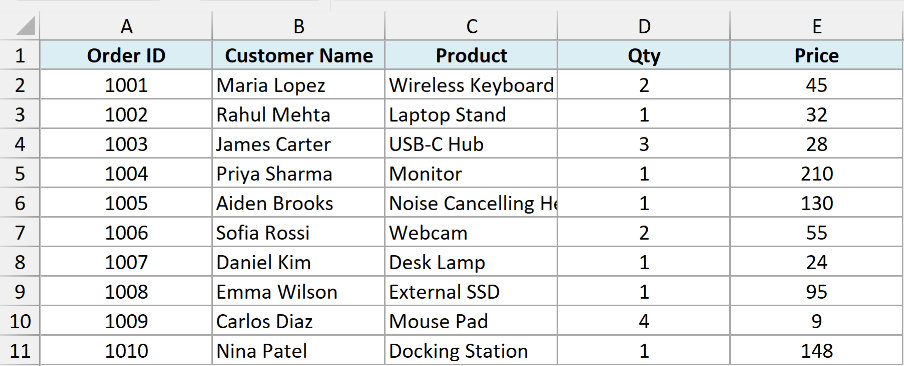
Every column in the sheet now has the same width.
The number you type here is in characters. A column width of 15 means roughly 15 characters of the default font fit across the column.
The default column width in Excel is 8.43, though you may see a slightly different number depending on your default font and display scaling.
If you only want to resize a few columns, select just those column headers first, then right-click any of them and choose Column Width. Type a value and click OK, and all the selected columns match.
Set a Uniform Row Height
Setting the row height works the same way. You select your cells and then enter one value that applies to every row.
You’ll use the same Format menu, this time for height.
Here are the steps to make all rows the same height:
- Select all the cells using the Select All button or Ctrl + A.
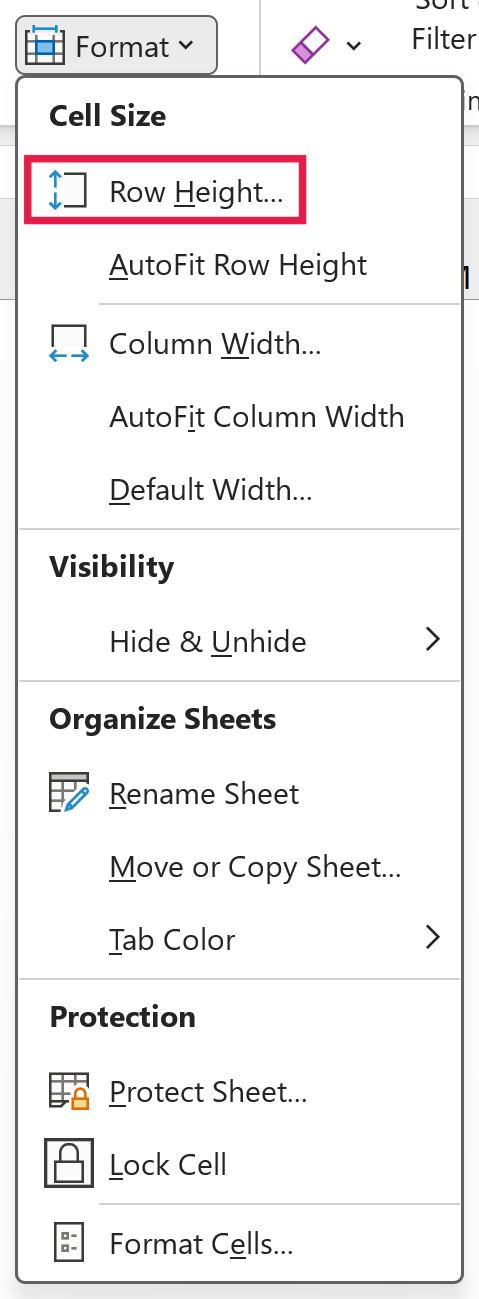
- On the Home tab, in the Cells group, click Format, then click Row Height.
- In the Row Height dialog box, type the height you want (for example, 20).
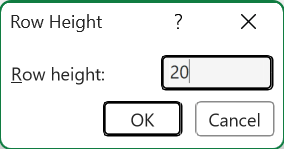
- Click OK.
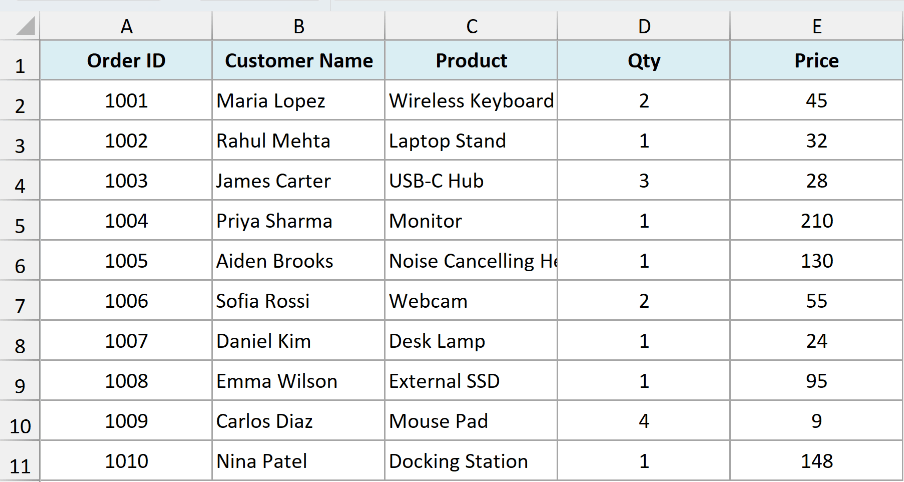
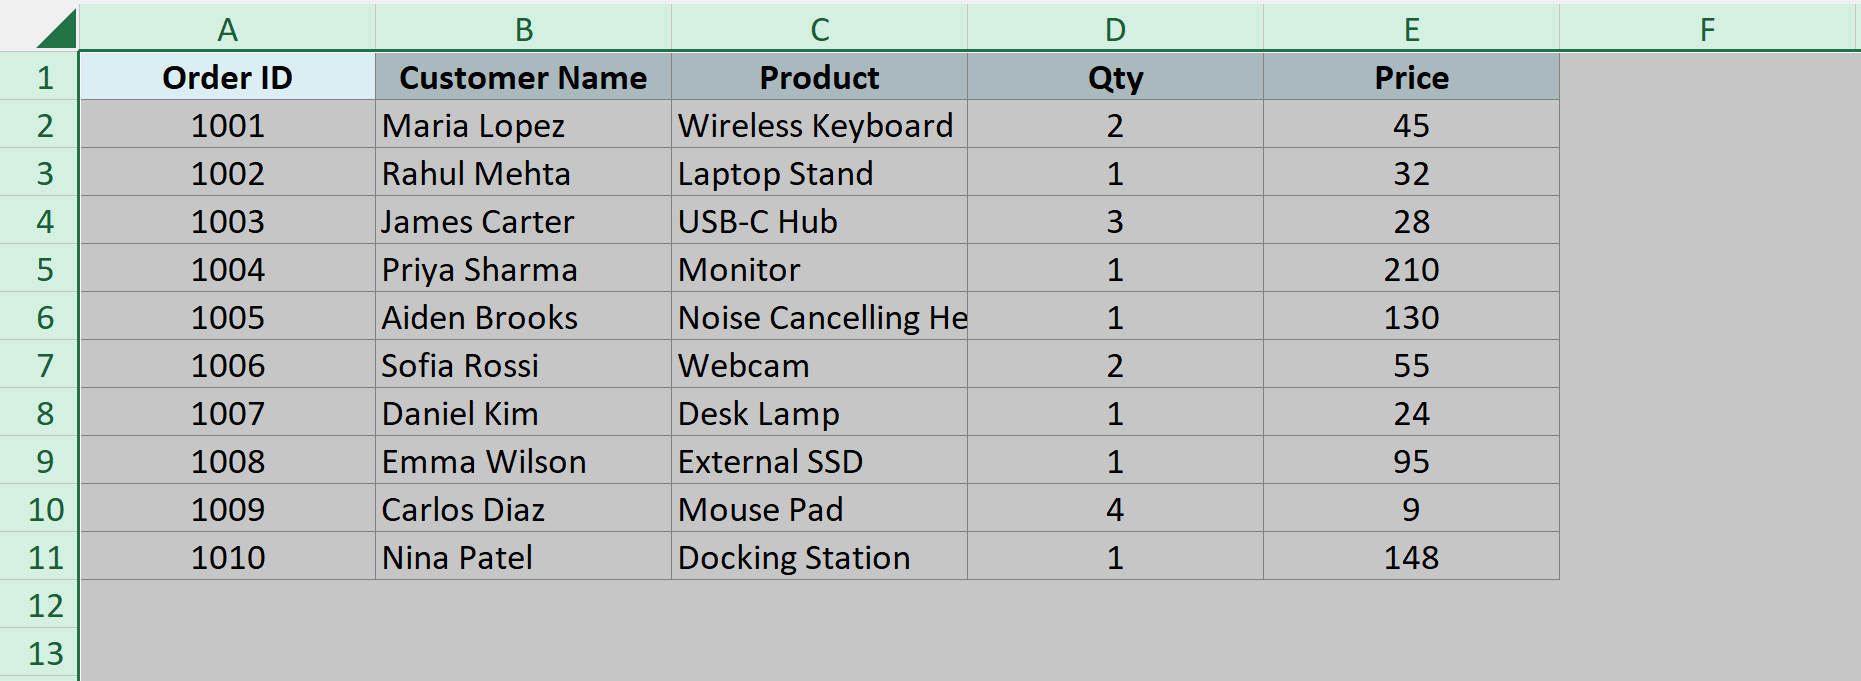
All the rows now share the same height.
The row height value is measured in points, where one point is 1/72 of an inch. The default row height in Excel is 15 points, though this can also vary slightly with your default font and display scaling.
Just like with columns, you can resize only some rows. Select the row headers you want, right-click any of them, choose Row Height, type a value, and click OK.
Drag to Match the Size of Multiple Rows or Columns
If you would rather size things by eye than type a number, you can drag a boundary instead. The trick is to select all the rows or columns first, then drag just one of them.
When you do this, every selected row or column changes to match the one you dragged. This is handy when you want a quick visual adjustment rather than an exact value.
Here are the steps to resize multiple columns to the same width by dragging:
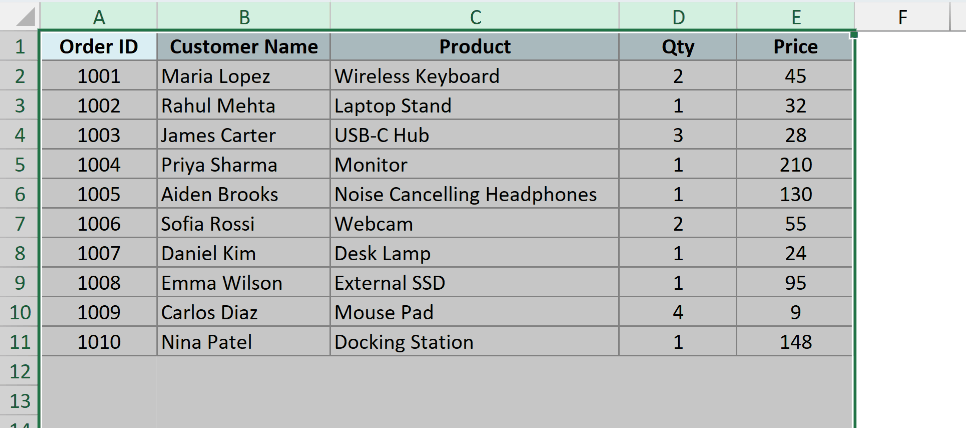
- Select the columns you want to resize by clicking and dragging across their column headers (or click the Select All button for the whole sheet).
- Hover over the right boundary of any one selected column header until the cursor turns into a double-headed arrow, then drag it left or right.
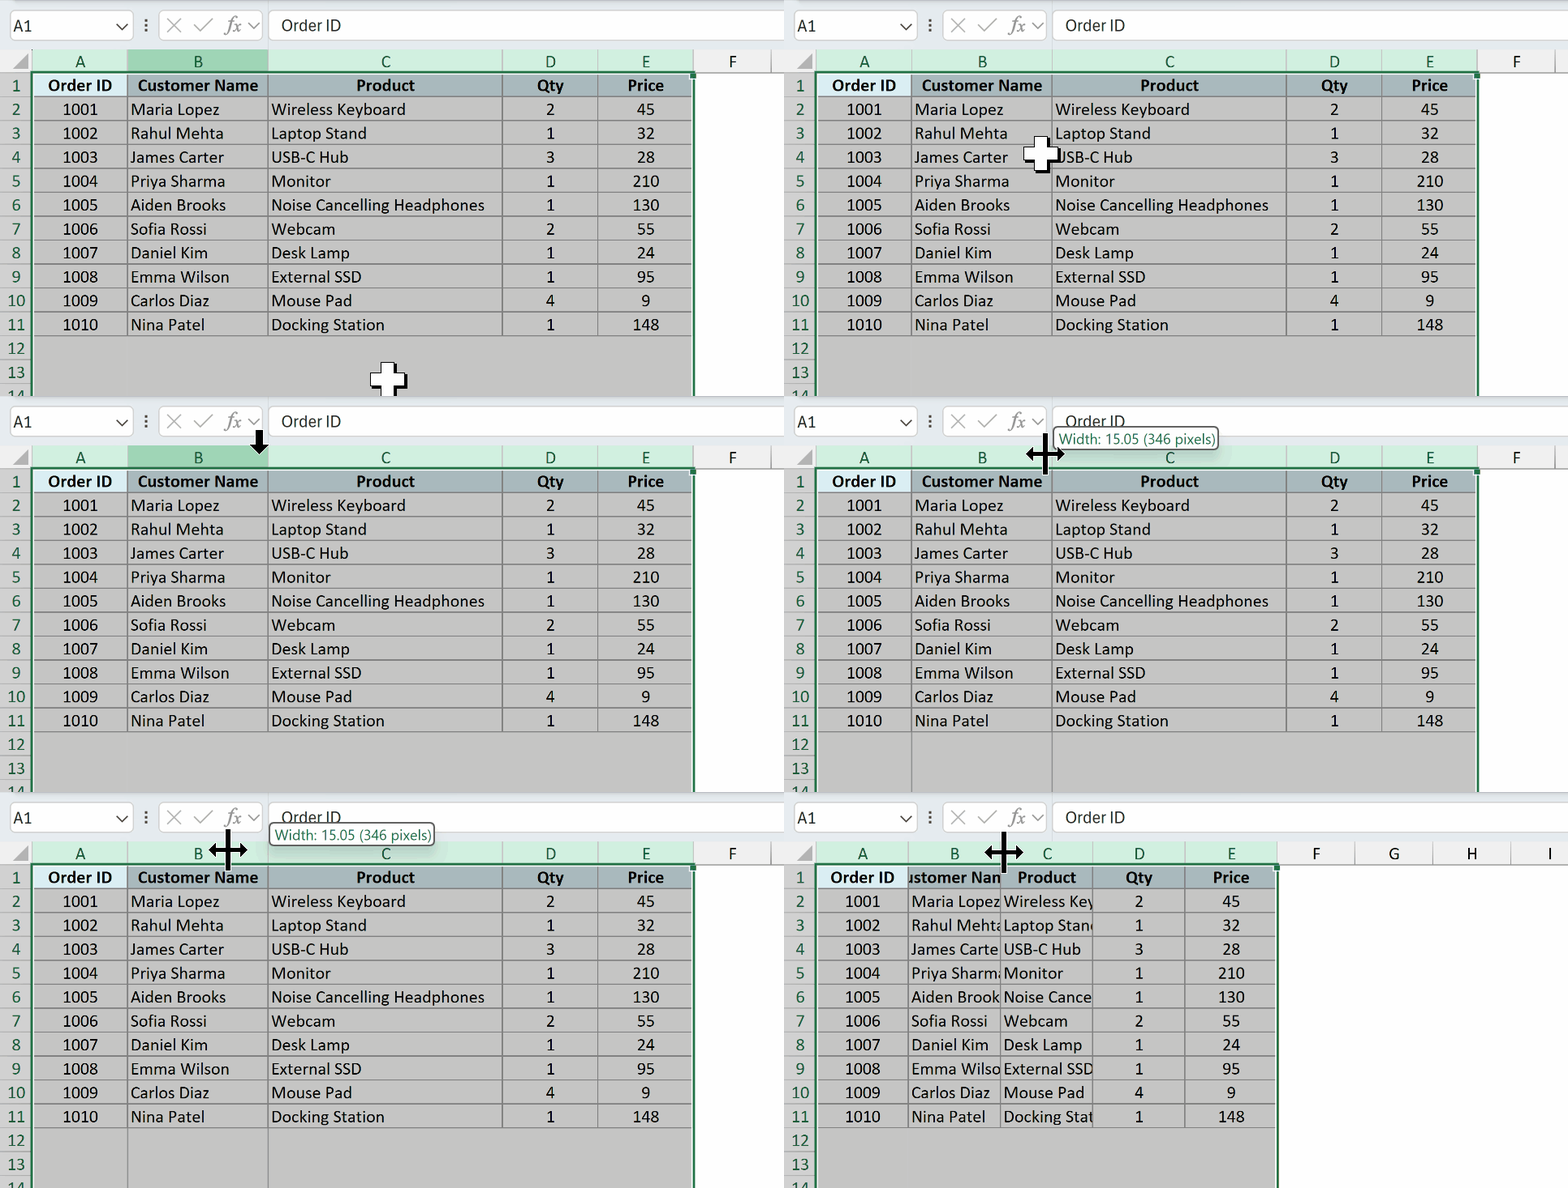
When you release the mouse, all the selected columns take on the same width.
The same idea works for rows. Select the row headers, then drag the bottom boundary of one of them, and all the selected rows resize together.
Why AutoFit Does Not Give You Uniform Cells
You’ll notice an AutoFit Column Width and an AutoFit Row Height option in the same Format menu. These are useful, but they do something different from what we want here.
AutoFit sizes each row or column to fit its own content. So a column with long text becomes wide, and a column with short text stays narrow.
That means AutoFit gives you cells that fit their data, not cells that are all the same size. If your goal is uniform cells, stick with typing one fixed value as shown above.
How to Make Cells Square in Excel
This is the part that trips people up. You’d think setting the column width and the row height to the same number would give you square cells, but it doesn’t.
The reason is that the two values use different units. Column width is measured in characters, while row height is measured in points.
So a width of 15 and a height of 15 are not the same physical size on screen.
To get true squares, the reliable approach is to switch to Page Layout view, where both width and height can be set in the same unit, like inches or centimeters.
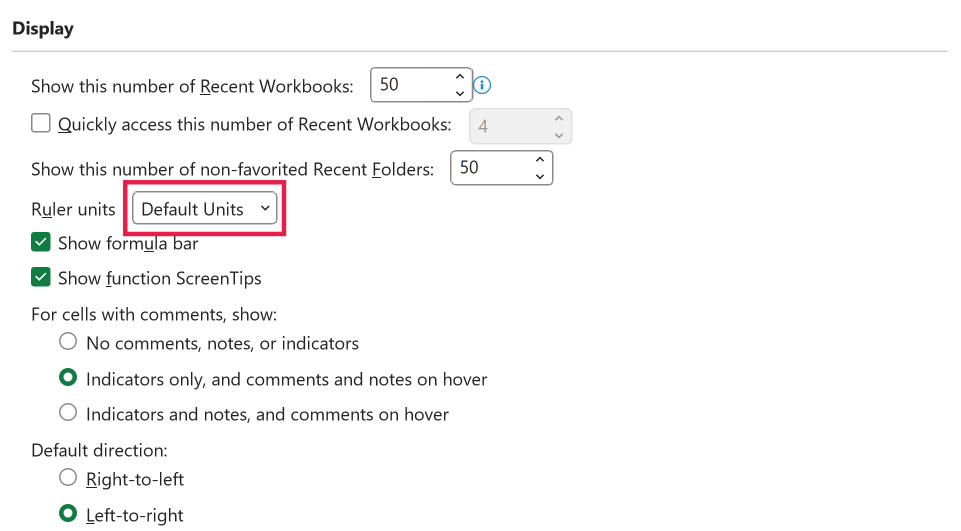
Page Layout view measures width and height in the ruler unit set in Excel’s options. To check or change it, go to File, then Options, then Advanced, scroll to the Display section, and pick Inches, Centimeters, or Millimeters from the Ruler Units list.
Here are the steps to make cells square:
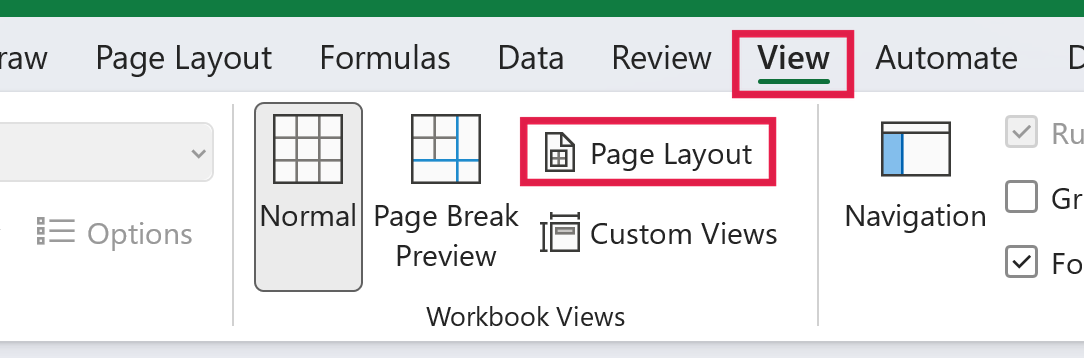
- Click the View tab, then click Page Layout in the Workbook Views group.
- Click the Select All button to select every cell in the sheet.
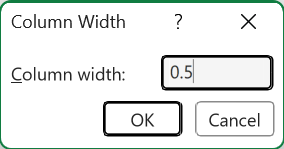
- On the Home tab, click Format, then click Column Width, and type a value such as 0.5. This number is in your ruler unit, so 0.5 means half an inch if you picked inches. Click OK.
- On the Home tab, click Format, then click Row Height, and type the exact same value (0.5). Click OK.
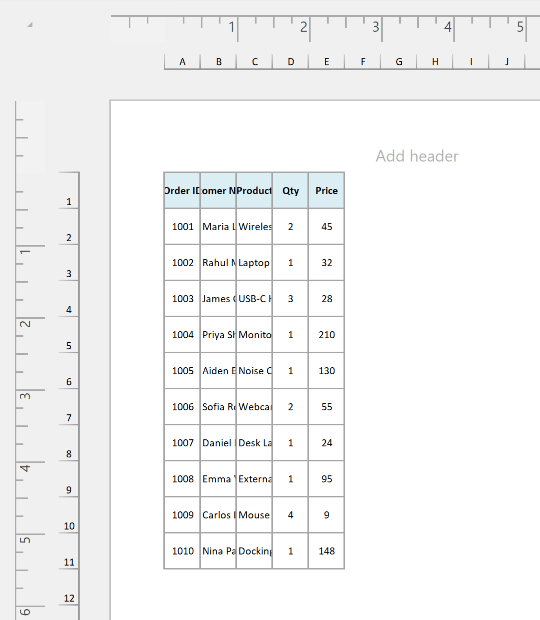
Because both numbers are now in the same unit, your cells come out as perfect squares.
Once you’ve made your squares, you can switch back to Normal view from the View tab. The cells stay square.
Things to Keep in Mind
- Always select all the cells before you resize. If you skip this step, Excel only changes the rows or columns that happen to be selected, and the rest of the sheet stays uneven.
- Setting column width and row height to the same number does not make squares. Column width is in characters and row height is in points, so equal numbers give you rectangles. Use Page Layout view with inches or centimeters for true squares.
- AutoFit and a fixed size are not the same thing. AutoFit sizes cells to their content, so cells end up different sizes. For uniform cells, type one fixed value instead.
- The default width of 8.43 and height of 15 points don’t make square cells either. If you need squares, set both sizes yourself in Page Layout view.
In this article, I showed you how to make all the cells in Excel the same size by setting one column width and one row height, and how to make them perfectly square using Page Layout view.
I hope you found this article helpful.
Other Excel Articles You May Also Like: