Watch Video – The best way to Move Rows / Columns in Excel
Sometimes when working with data in Excel, you may have a need to move rows and columns in the dataset.
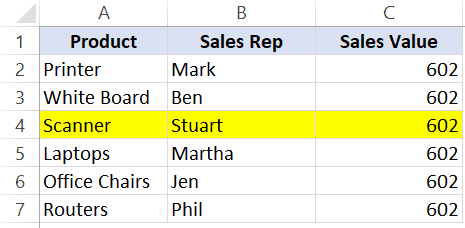
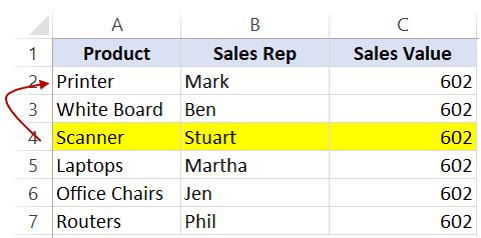
For example, in the below dataset, I want to quickly move the highlighted row to the top.
Now, are you thinking of copying this row, inserting the copied row where you want it, and then deleting it?
If yes – well that’s one way to do this.
But there is a lot faster way to move rows and columns in Excel.
In this tutorial, I will show you a fast way to move rows and columns in Excel – using an amazing shortcut.
Move Rows in Excel
Suppose I have the following dataset and I want to move the highlighted row to the second row (just below the headers):
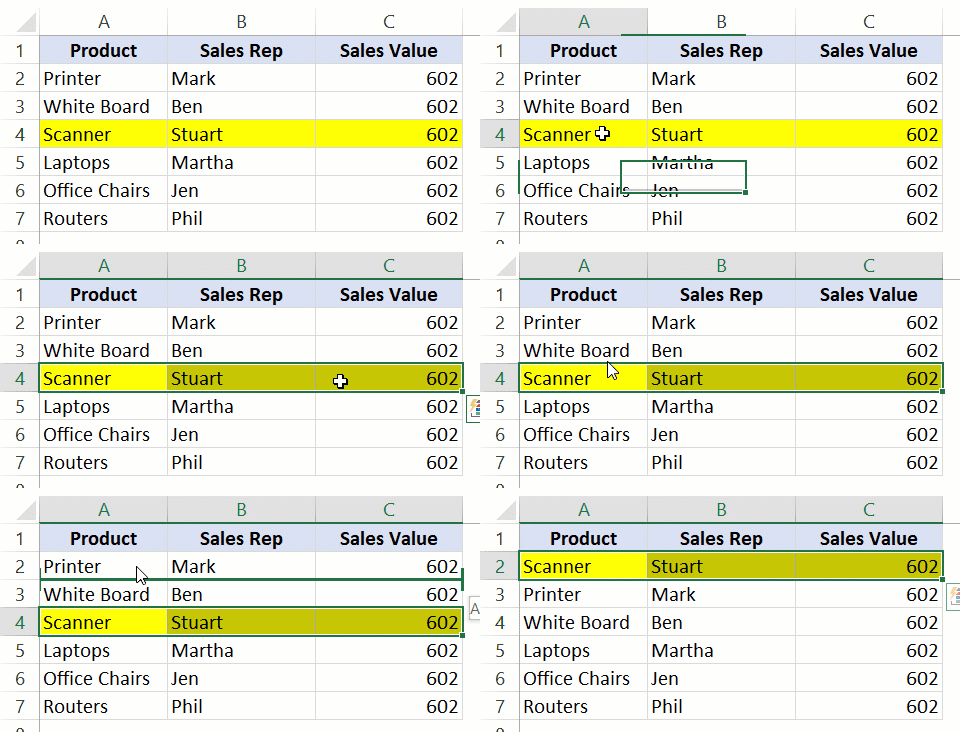
Here are the steps to do this:
- Select the row that you want to move.
- Hold the Shift Key from your keyboard.
- Move your cursor to the edge of the selection. It would display the move icon (a four directional arrow icon).
- Click on the edge (with left mouse button) while still holding the shift key.
- Move it to the row where you want this row to be shifted
- Leave the mouse button when you see a bold line right below the row where you want to move this row.
- Leave the Shift-key (remember to keep the Shift key pressed till the end)
Below is a video that shows how to move a row using this method.
Note that in this example, I have moved the selected cells only.
If you want to move the entire row, you can select the entire row and then follow the same steps.
Here are some important things to know about this method:
- You can move contiguous rows (or some cells from the contiguous rows). You can’t move non-contiguous rows using this method. For example, you can’t move row # 4 and 6 at the same time. However, you can move row #5 and 6 at the same time by selecting it.
- When you move some cells in a row/column using this method, it will not impact any other data in the worksheet. In the above example, any data outside (above/below or to the right/left of this table) remains unaffected.
Also read: How to Swap Cells in Excel?
Move Columns in Excel
The same technique can also be used to move columns in Excel.
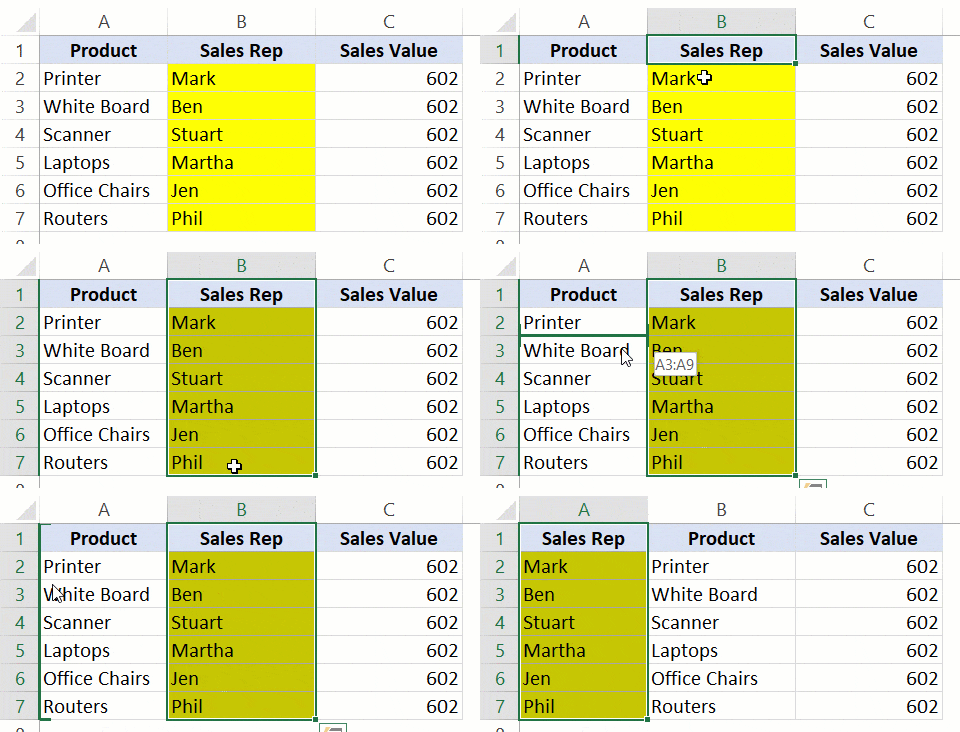
Here are the steps:
- Select the column (or contiguous columns) that you want to move.
- Hold the Shift Key from your keyboard.
- Move your cursor to the edge of the selection. It would display the move icon (a four directional arrow icon).
- Click on the edge (with left mouse button) while still holding the shift key.
- Move it to the column where you want this row to be shifted
- Leave the mouse button when you see a bold line to the edge of the column where you want to move this column.
- Leave the Shift-key (remember to keep the Shift key pressed till the end).
You May Also Like the Following Excel Tutorials:
- Quickly select blank cells in Excel.
- Quickly select a far-off cell/range in Excel.
- Keyboard and Mouse tricks that will reinvent the way you Excel.
- Highlight every other row in Excel.
- Insert New Cells in Excel.
- Highlight Active Row/Column in a dataset.
- Delete rows based on cell value in Excel
- Insert New Columns in Excel
- Repeat Rows N Times in Excel


14 thoughts on “How to Move Rows and Columns in Excel”
can we do this by just using keyboard???
Thanks appreciate the tutorial
How do I get excel to reorder (sort) the rows grouping them by matching in cells while keeping data in the rows locked?
Thanks so much – much appreciated!
Very Helpful. I had a huge data that needed an alignment and moving of rows that became easy with your video! Thanks!
Thank you so much!
My organisation has blocked YouTube, so the small GIF is extremely helpful to view.
Thanks
great help
c’est de la merde
Thank you
Very helpful!
doesnt work in excel online
Option key on Mac
If you hold down the option key on the Mac, it drags a duplicate item, it doesn’t move it.